 |
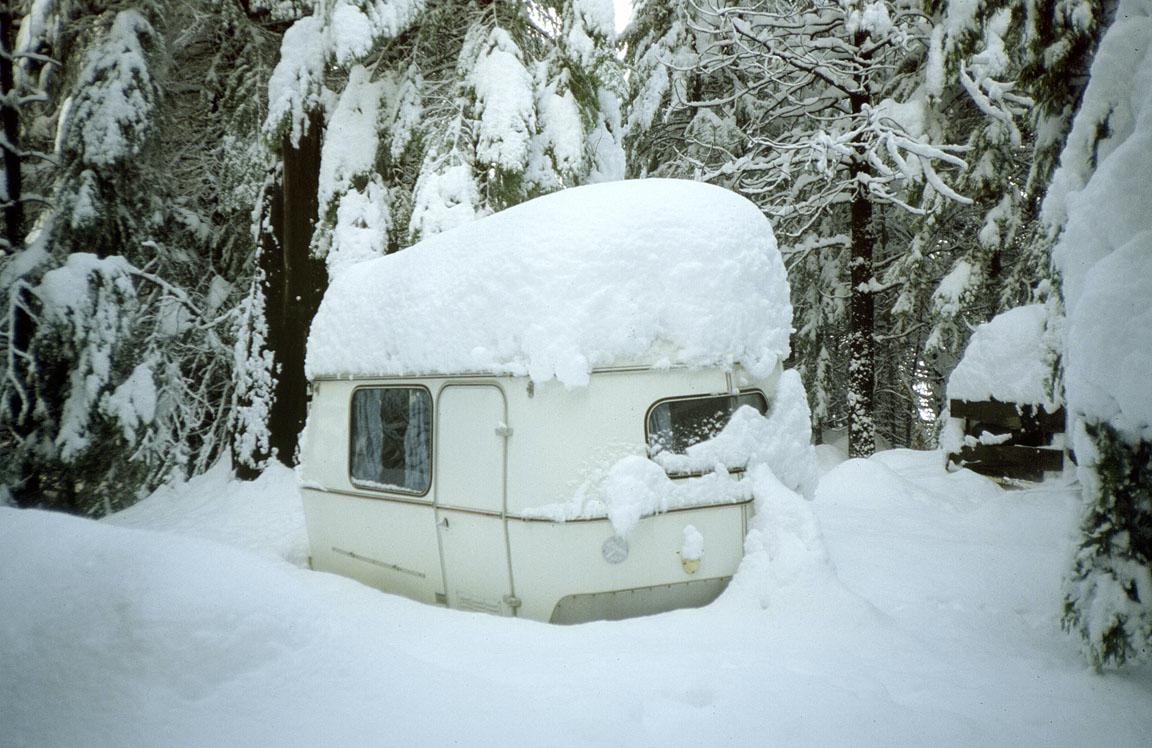
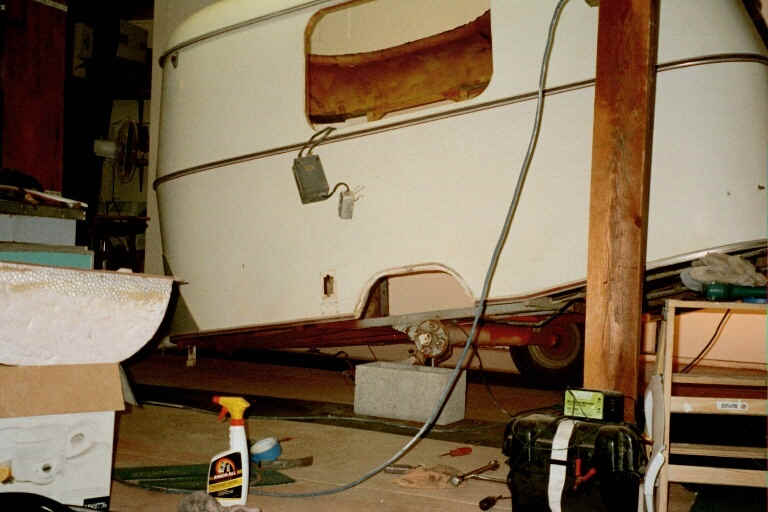
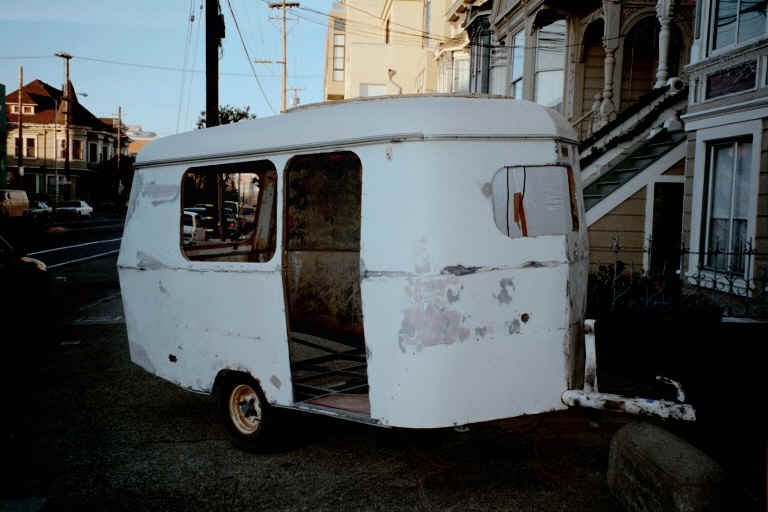
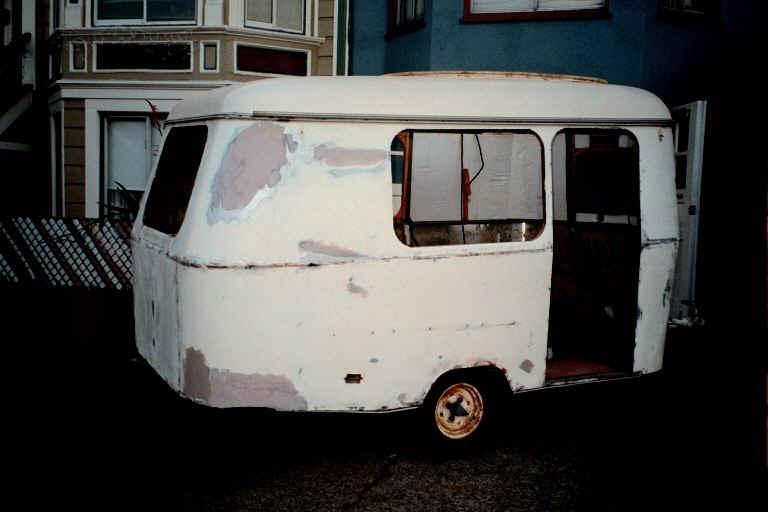
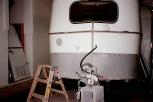
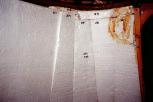
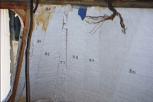
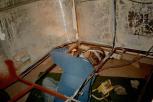
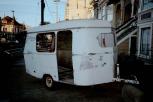
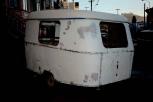
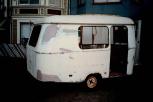
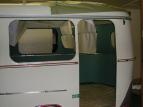
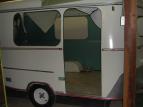
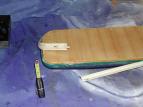
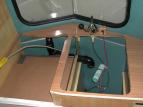
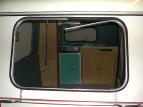
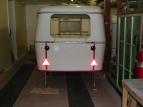
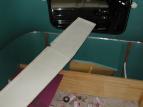
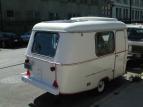
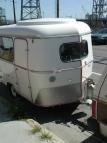
This image illustrates why the Puck needed a total restoration. Over a dozen years of surviving the elements at 4,100 ft. in Northern California, the weight of snow, rain, wind and sun has cracked the roof and caused water damage. The thin original floor was the most severe problem, rotted through in several spots. When I got the Puck in December 1998, I did some stopgap repairs, including reinforcing the floor where one first steps inside. This required chiseling out the rotten wood from below and fashioning thick plywood and metal brackets to fill the space between the trailer frame. After 2 years of heavy use, a decision had to be made... allow it to not-so-gracefully decay or fix everything, top to bottom. The following photo collection documents the restoration, which began in October 2000 and was complete in May 2001.
BE FOREWARNED! The following set of amateur photos will only appeal to the 3 or 4 people on this planet. YOU KNOW WHO YOU ARE!
|
 |
|
|
 |
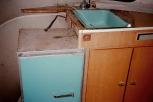
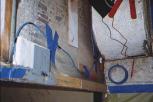
Documenting the interior disassembly: wheelwell beneath the left bench, original AC breakerbox for shorepower.
|
|
|
|
 |
Documenting the interior disassembly: right bench.
|
|
|
|
 |
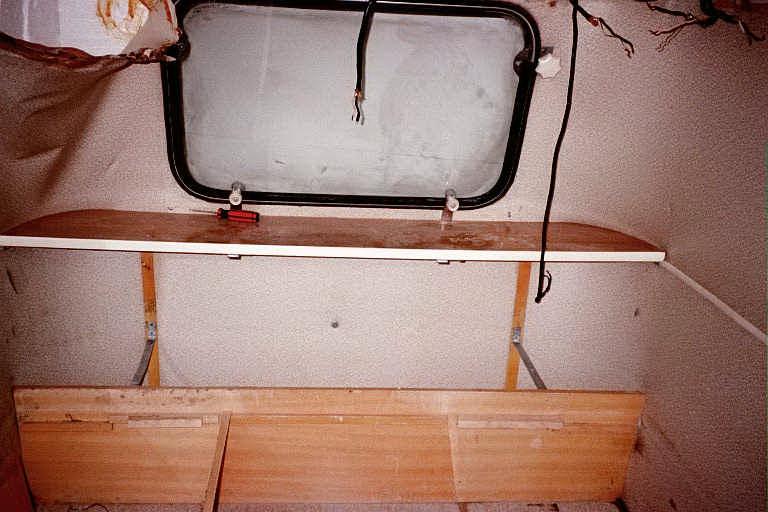
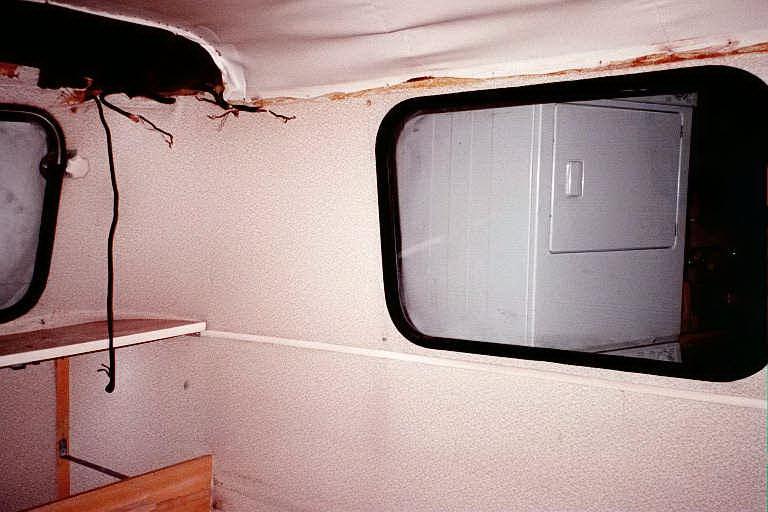
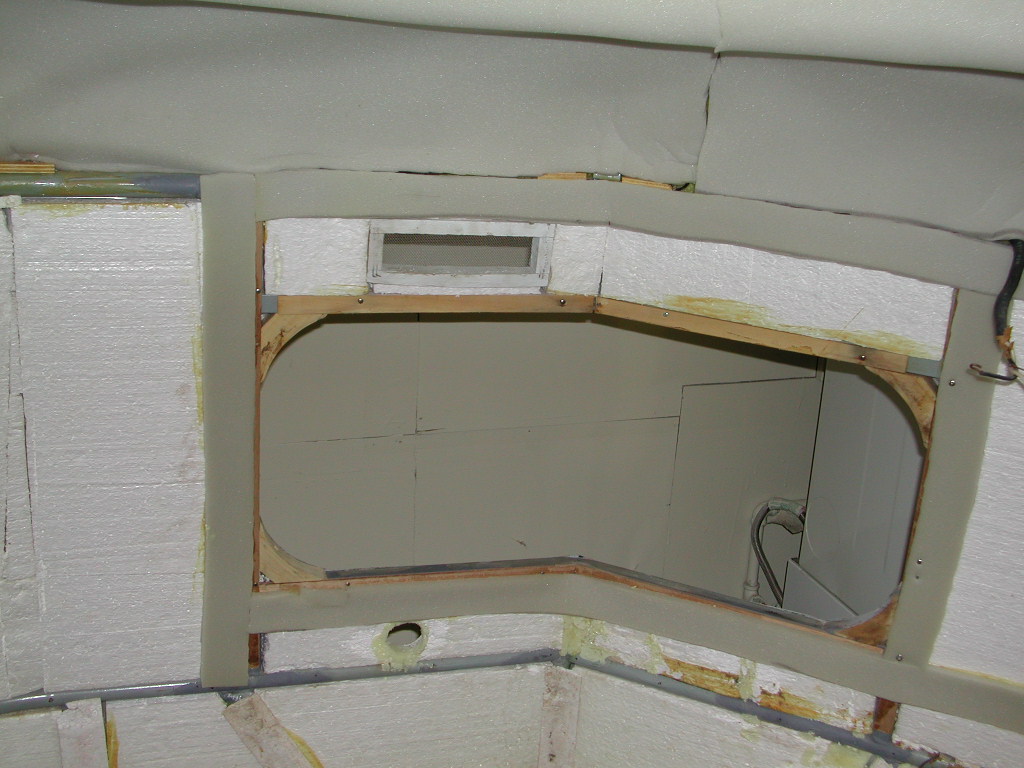
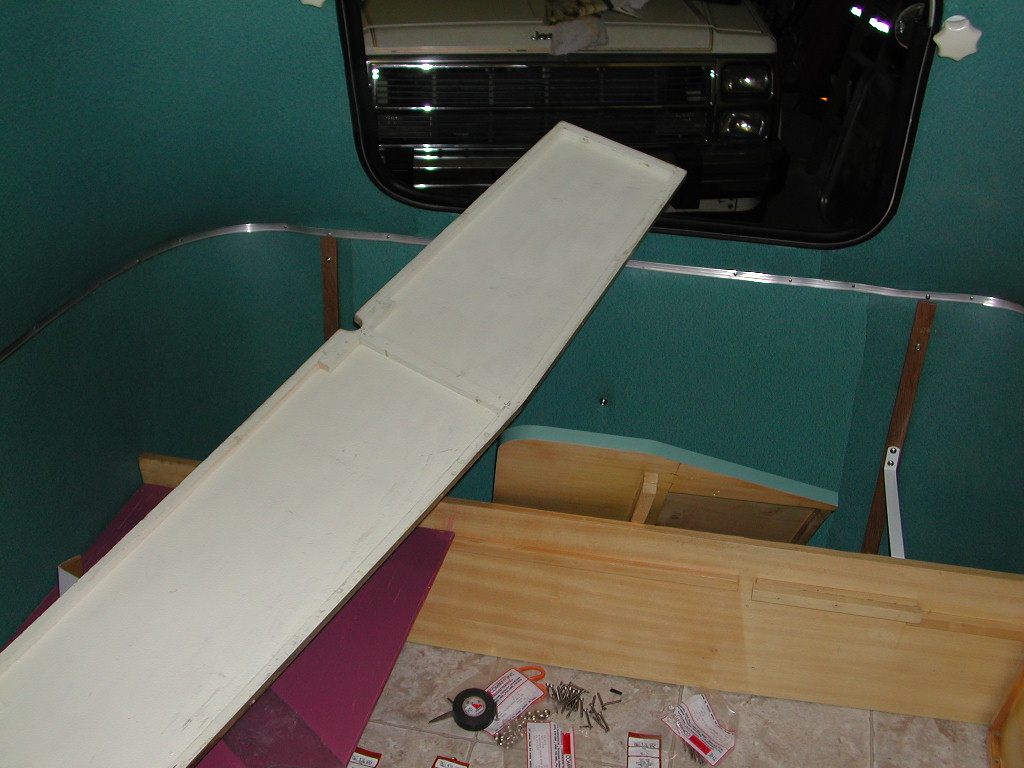
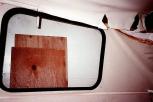
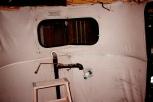
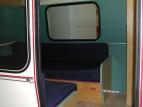
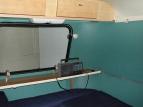
Documenting the interior disassembly: rear window, shelf.
|
|
|
|
 |
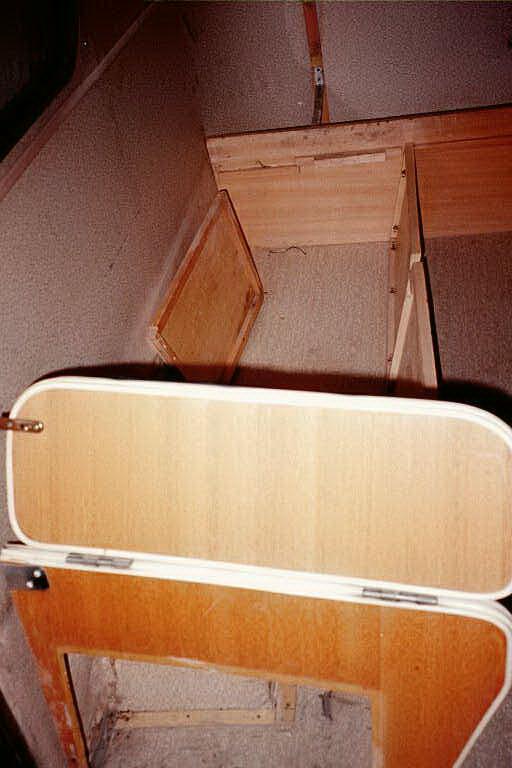
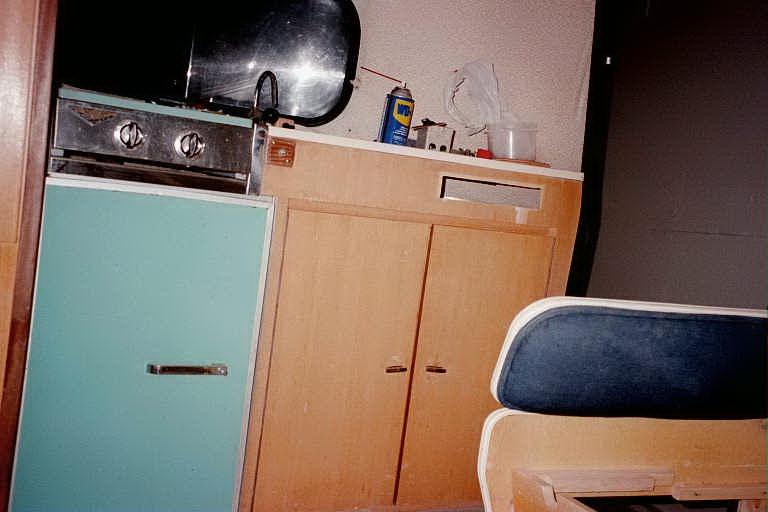
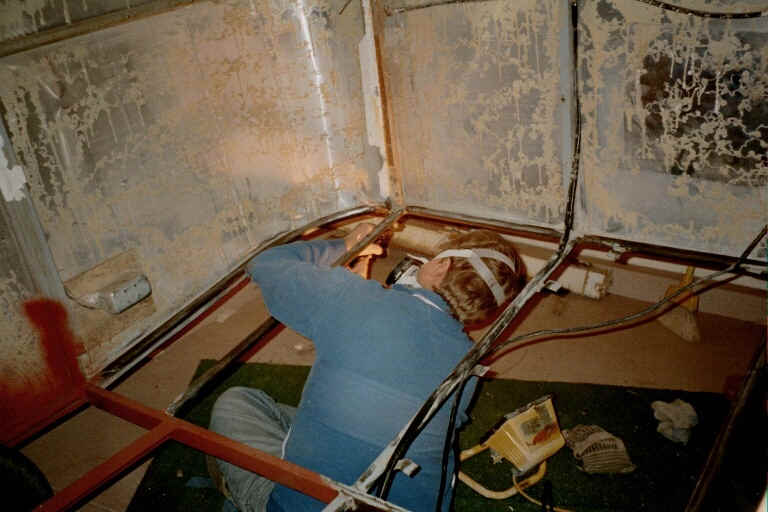
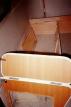
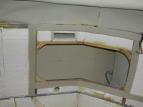
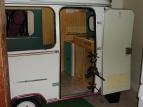
Documenting the interior disassembly: front interior.
|
|
|
|
 |
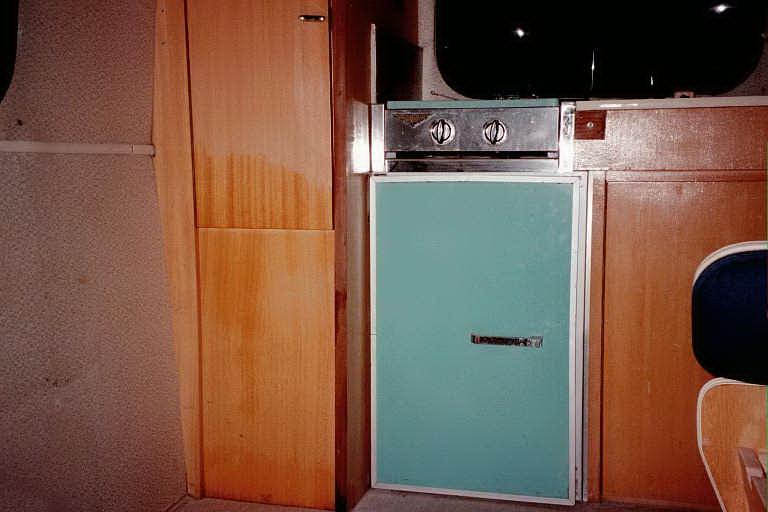
Documenting the interior disassembly: front interior.
|
|
|
|
 |
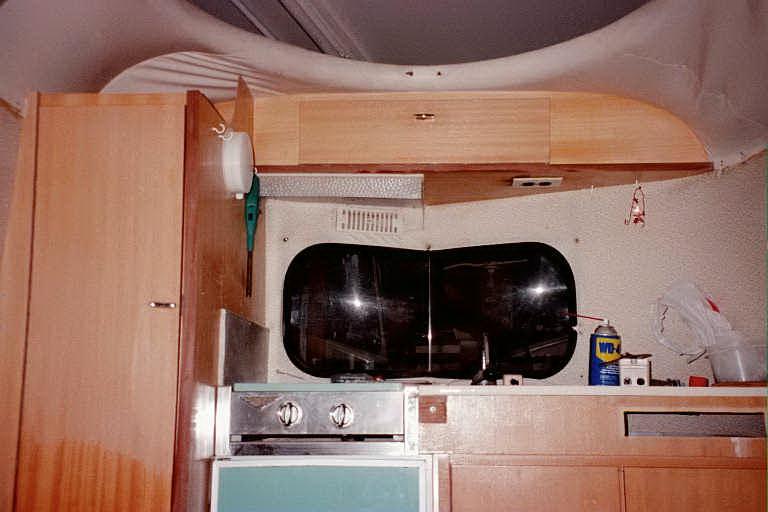
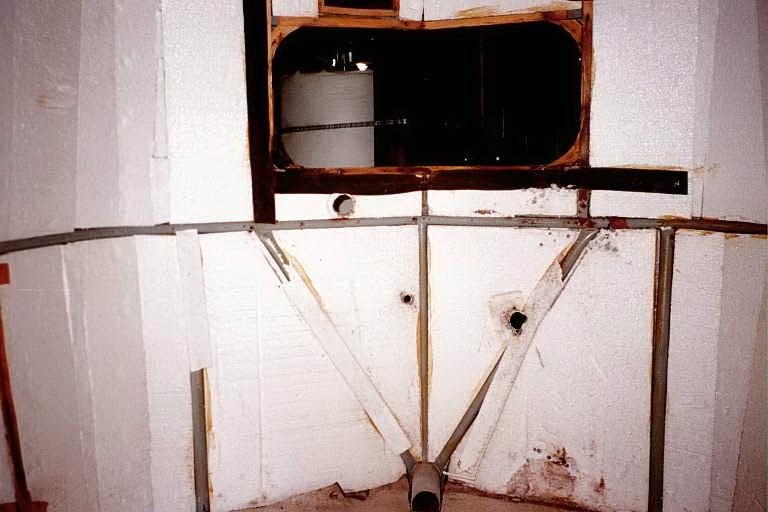
Documenting the interior disassembly: front interior.
|
|
|
|
 |
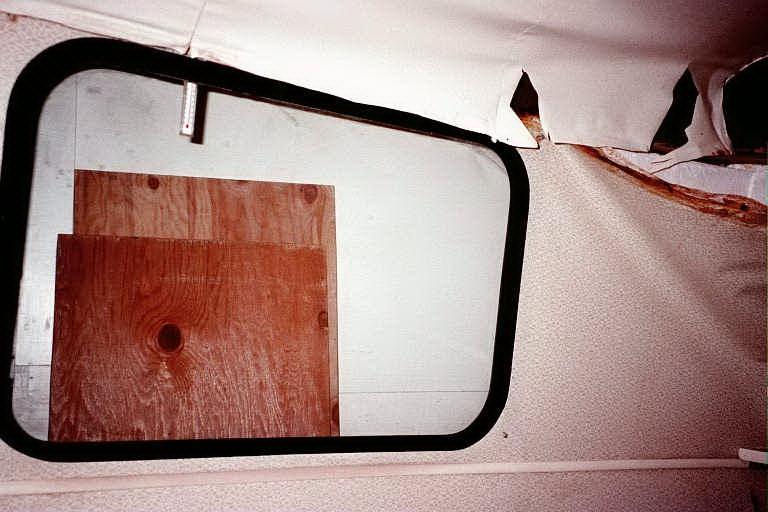
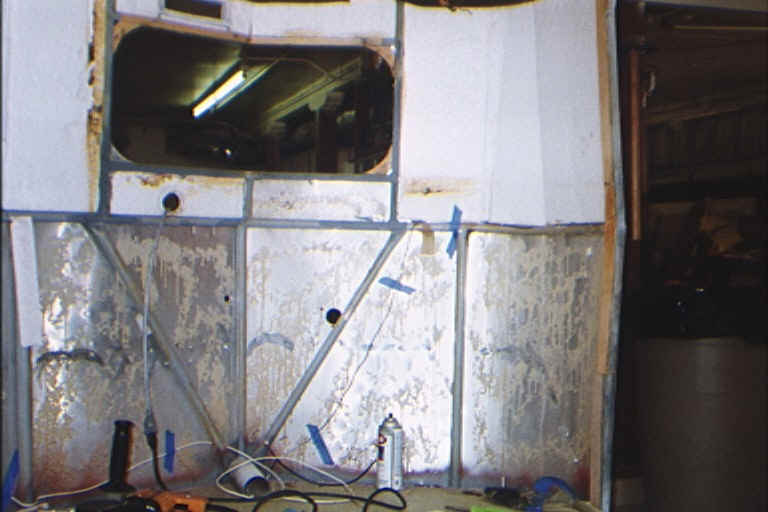
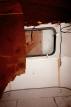
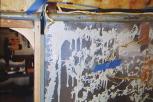
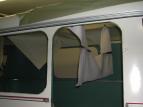
Documenting the interior disassembly: right side window, showing damaged vinyl.
|
|
|
|
 |
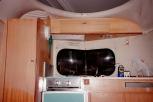
Documenting the interior disassembly: left side window. Rear overhead cabinet already removed.
|
|
|
|
 |
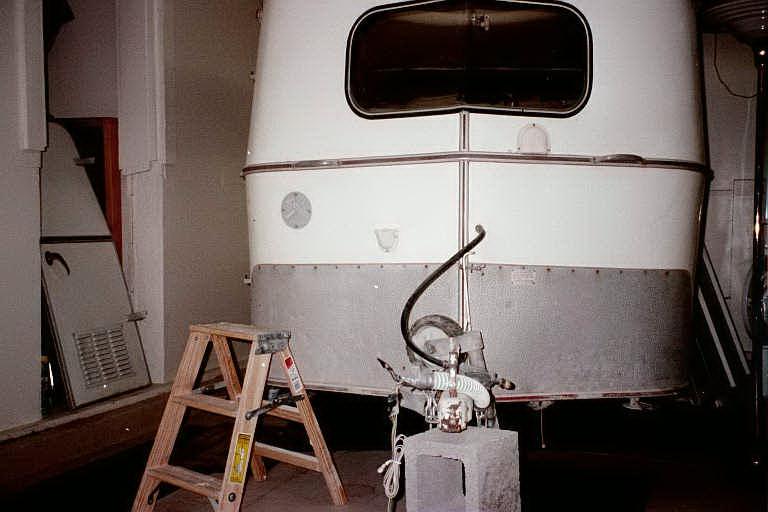
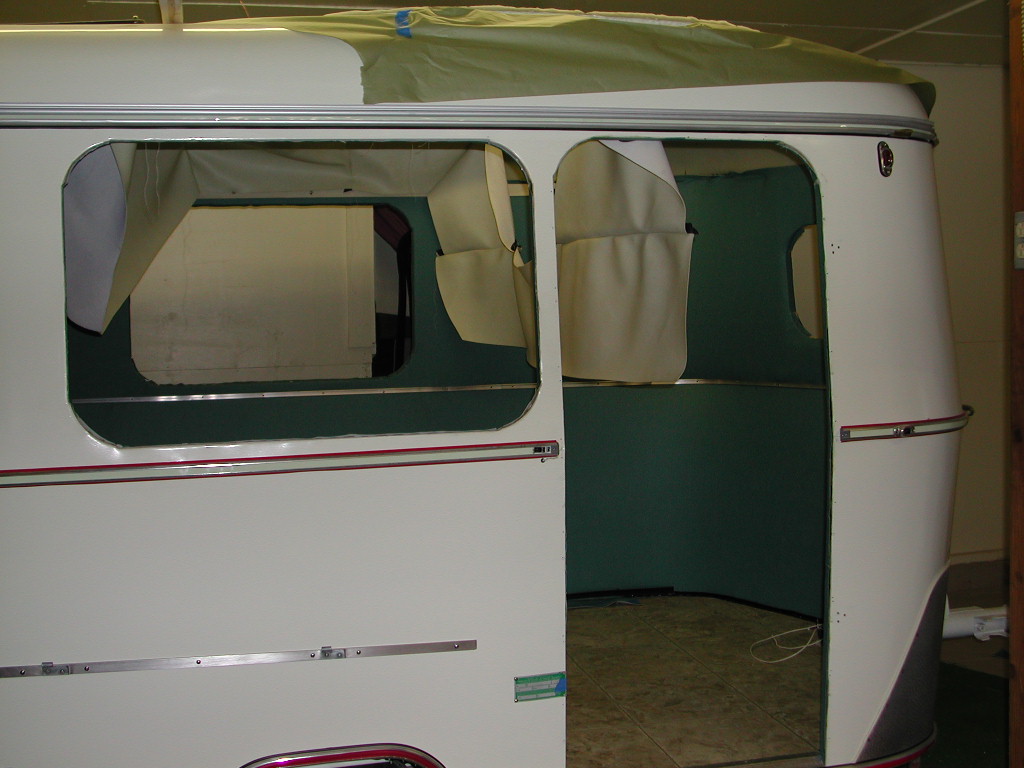
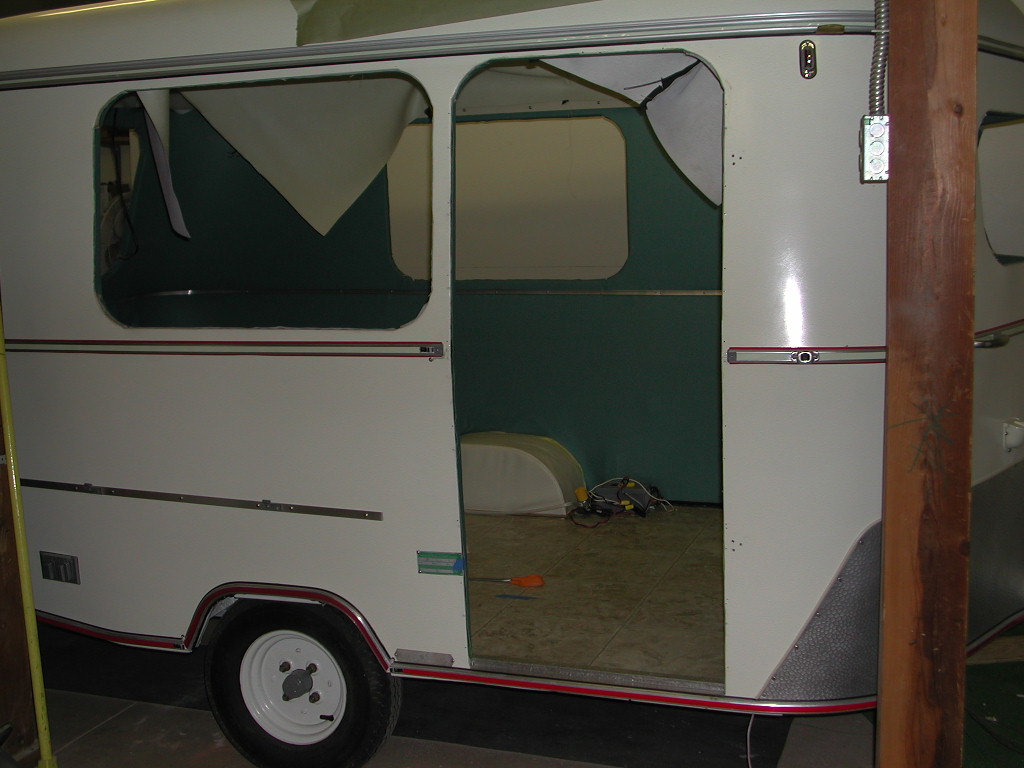
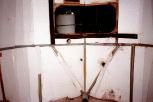
Documenting the disassembly: front exterior.
|
|
|
|
 |
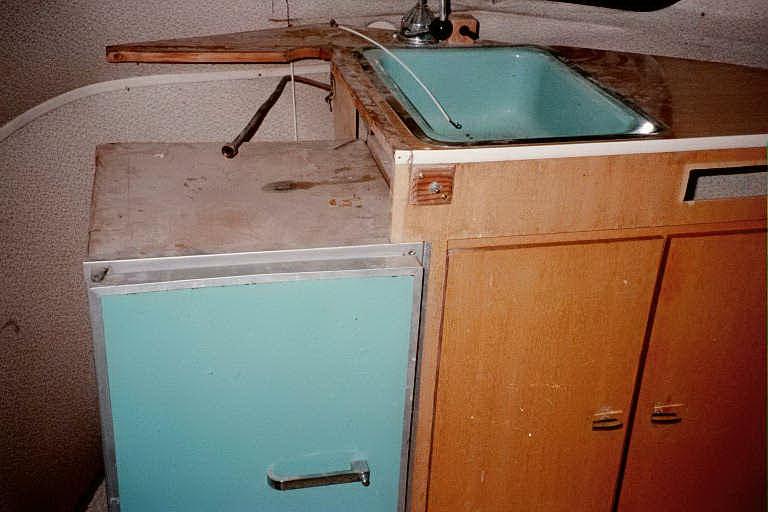
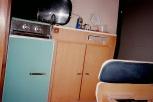
Documenting the interior disassembly: front interior with stove & left cabinet removed.
|
|
|
|
 |
Documenting the interior disassembly: front left cabinet removed onto floor.
|
|
|
|
 |
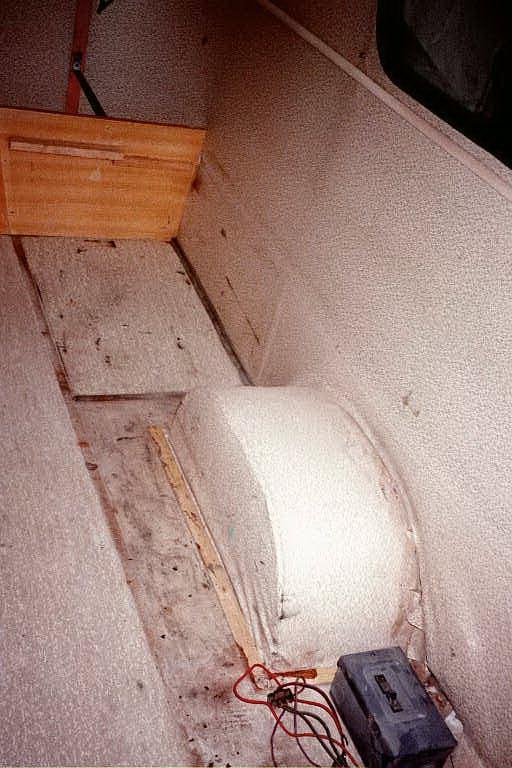
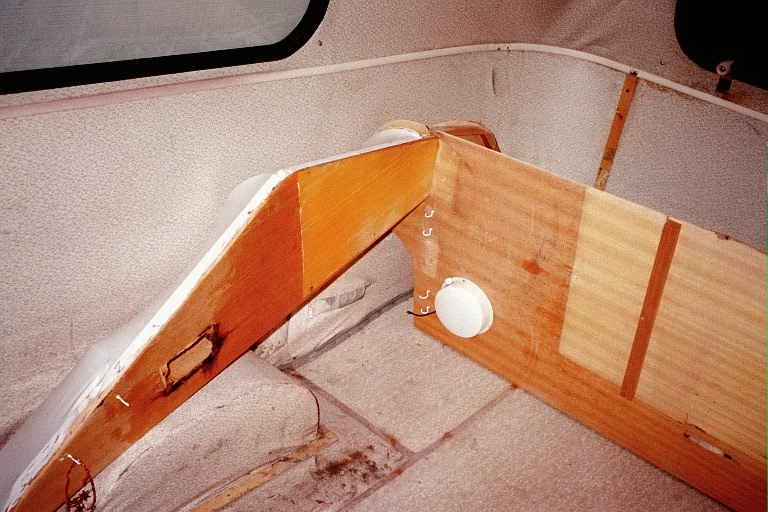
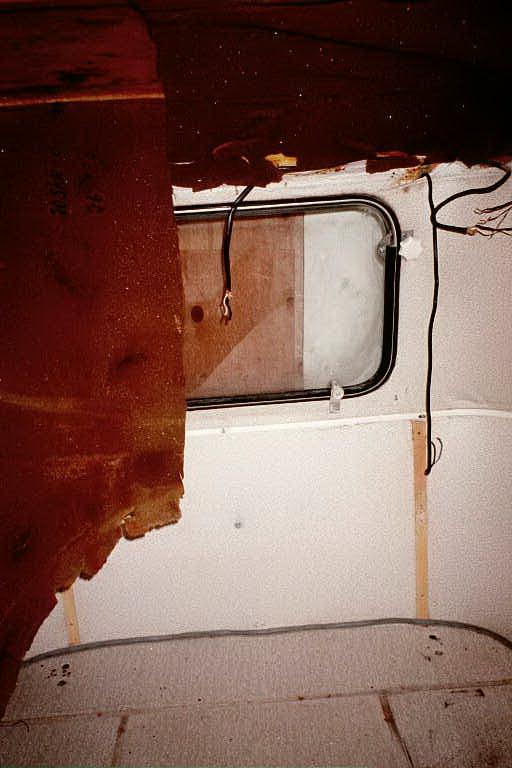
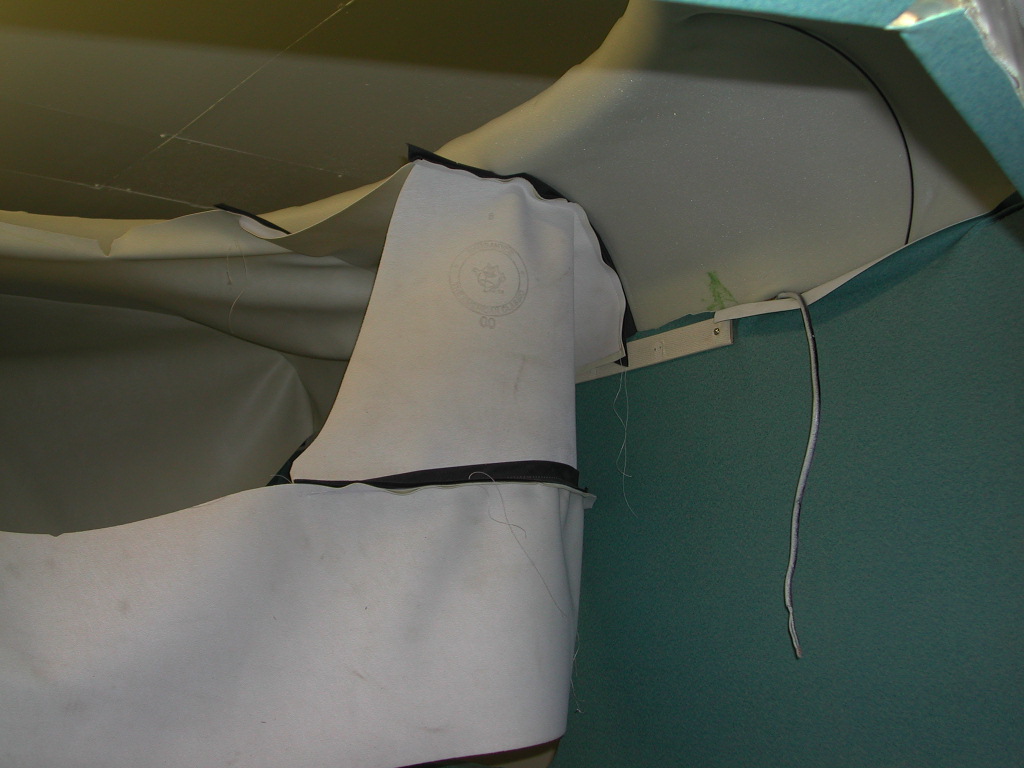
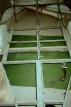
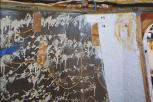
Documenting the interior disassembly: rear interior with decayed roof insulation.
|
|
|
|
 |
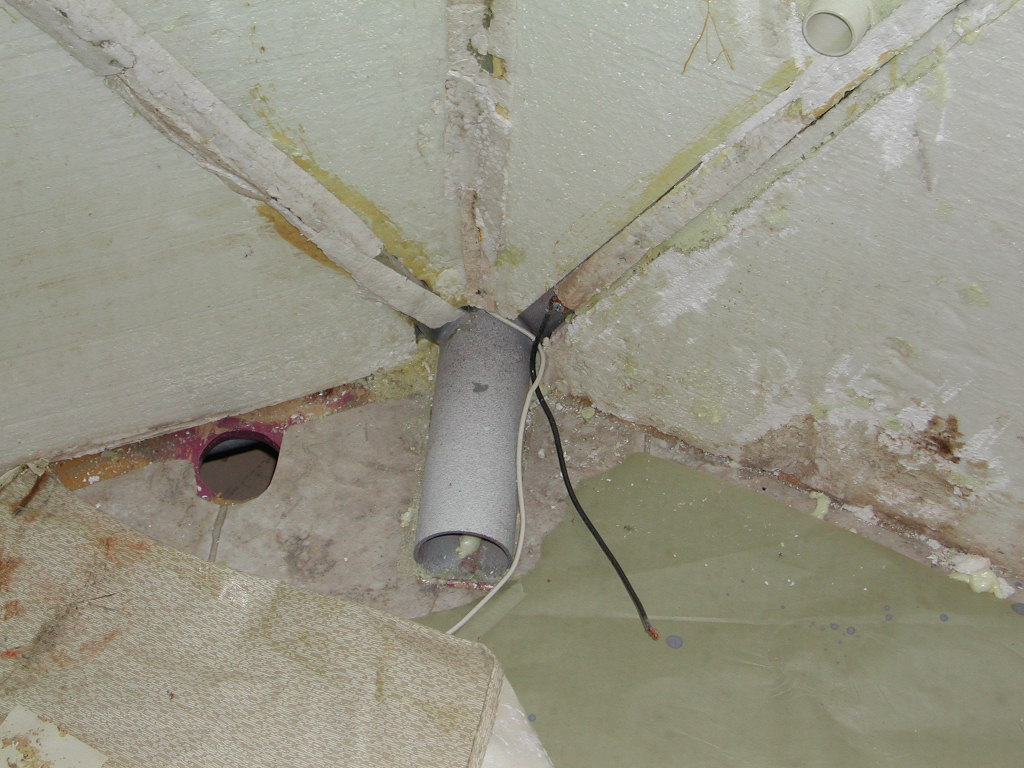
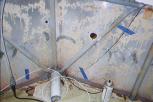
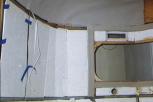
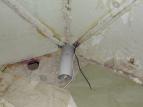
Documenting the interior disassembly: front plumbing.
|
|
|
|
 |
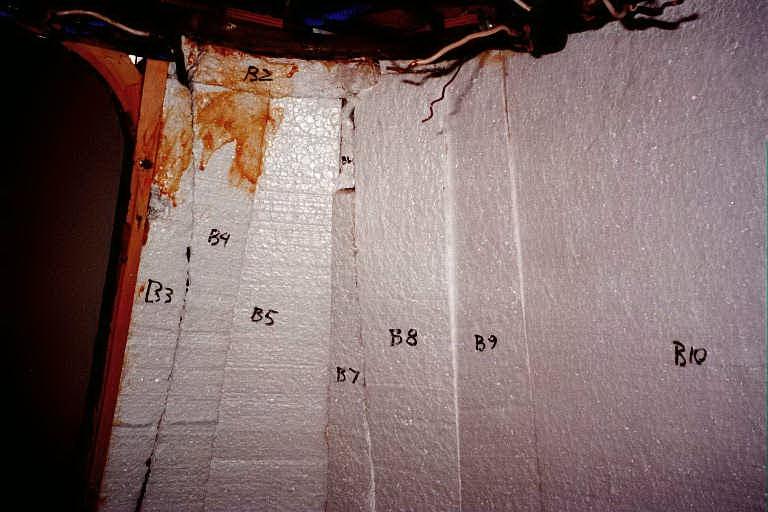
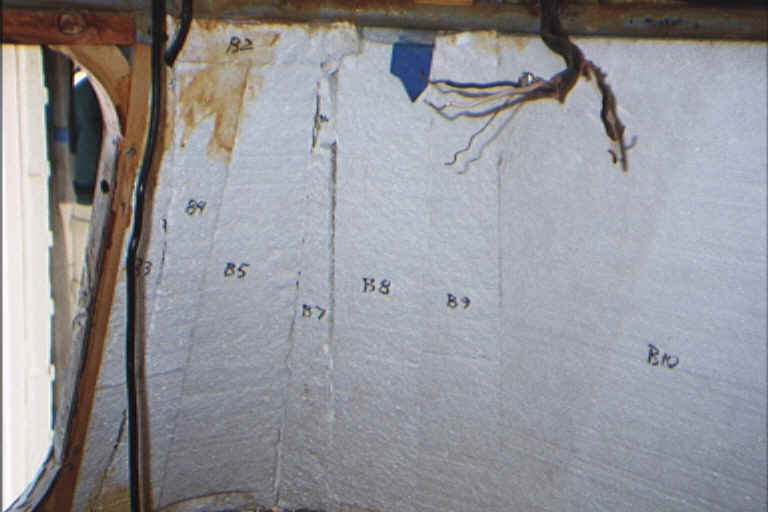
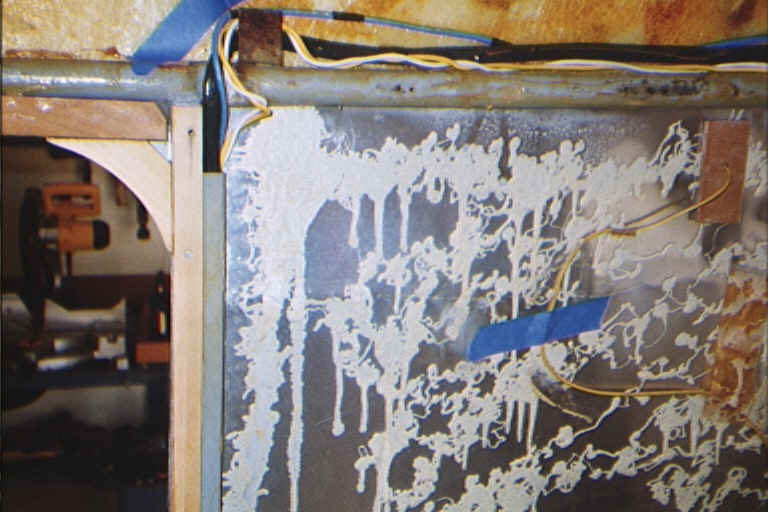
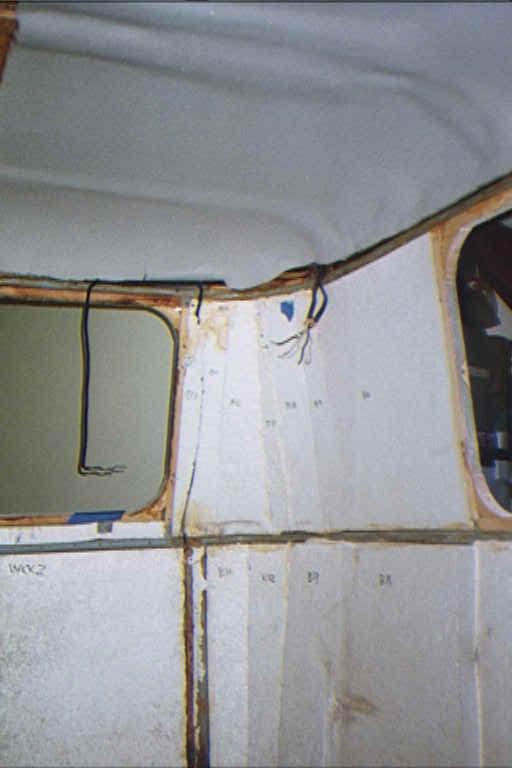
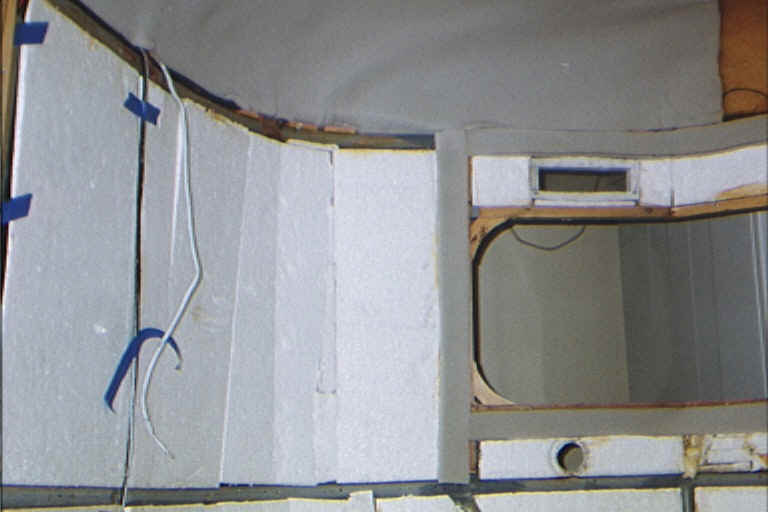
Documenting the interior disassembly: I numbered the styrofoam insulation and took pictures, later using them to reassemble.
|
|
|
|
 |
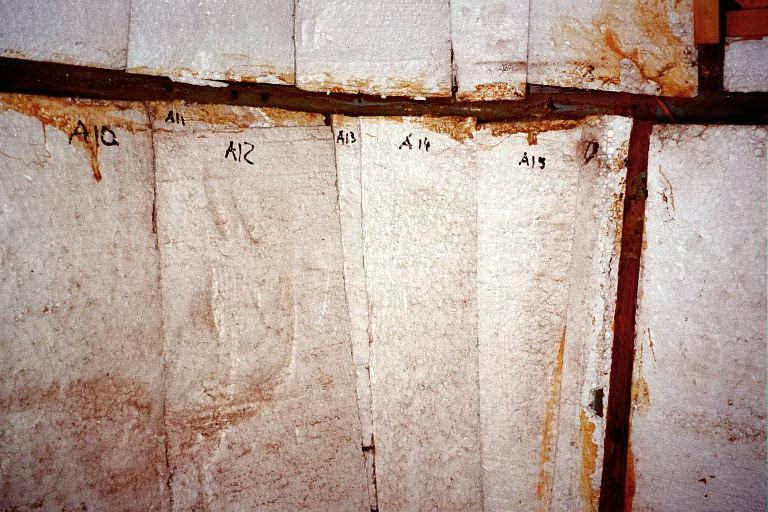
Documenting the interior disassembly: I numbered the styrofoam insulation and took pictures, later using them to reassemble.
|
|
|
|
 |
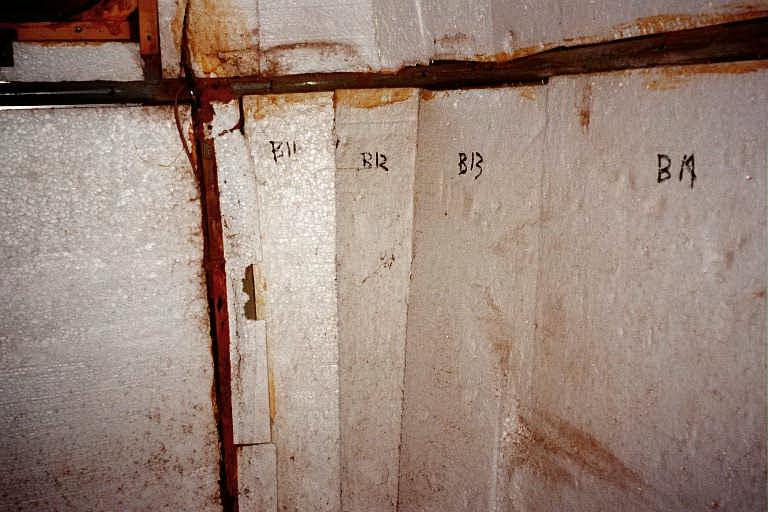
Documenting the interior disassembly: I numbered the styrofoam insulation and took pictures, later using them to reassemble.
|
|
|
|
 |
Documenting the interior disassembly: I numbered the styrofoam insulation and took pictures, later using them to reassemble.
|
|
|
|
 |
Documenting the interior disassembly: I numbered the styrofoam insulation and took pictures, later using them to reassemble.
|
|
|
|
 |
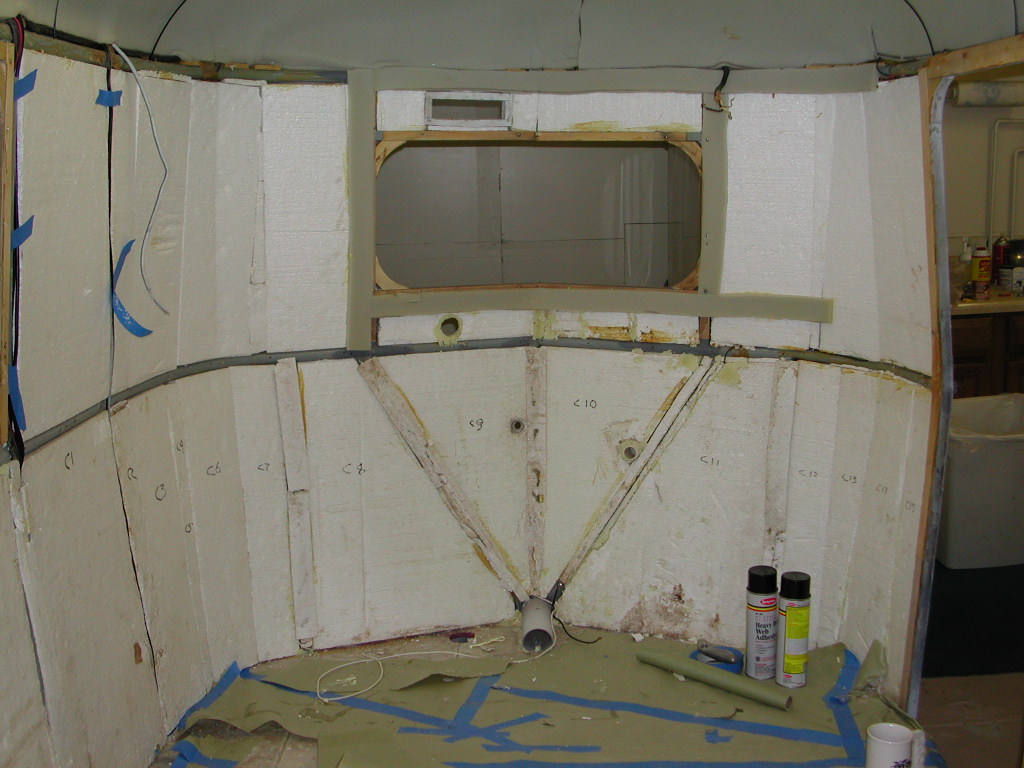
Documenting the interior disassembly: front interior.
|
|
|
|
 |
Documenting the interior disassembly: I numbered the styrofoam insulation and took pictures, later using them to reassemble.
|
|
|
|
 |
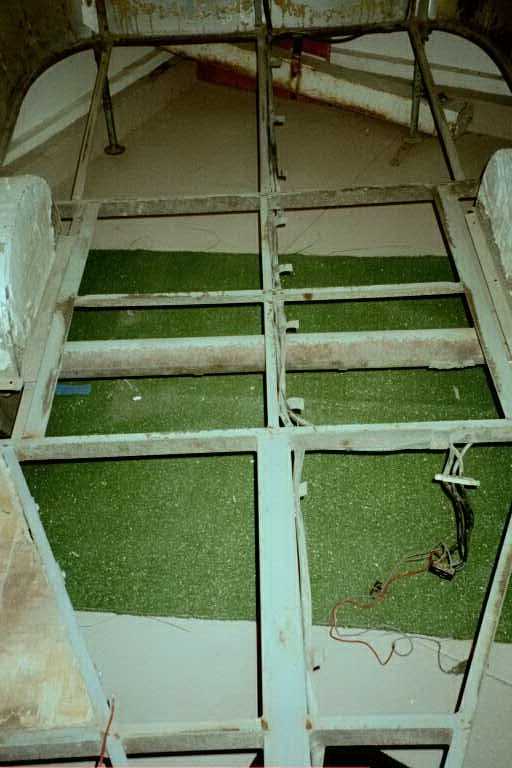
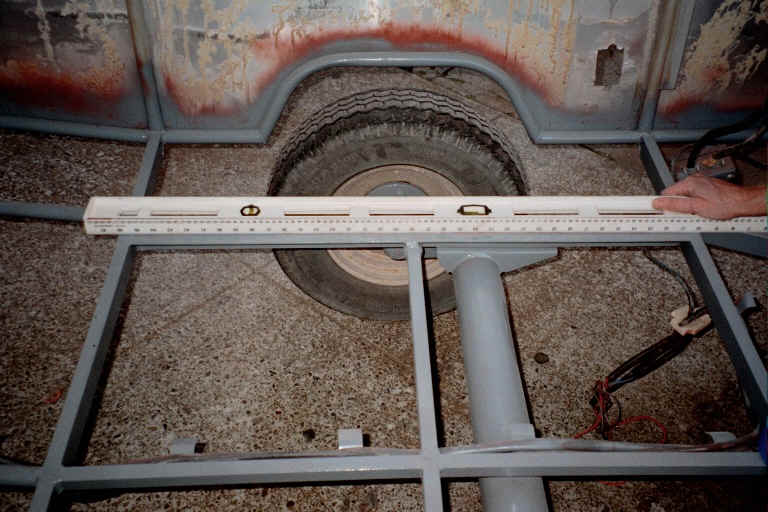
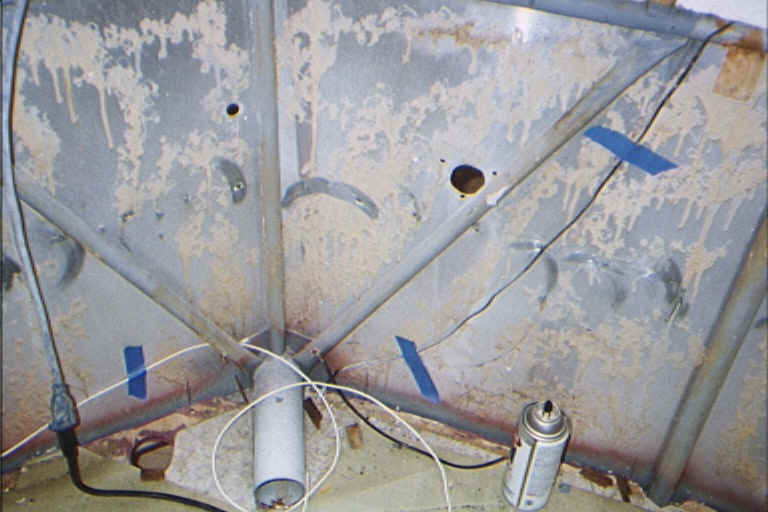
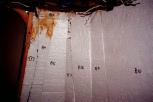
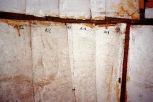
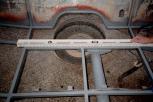
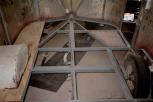
Trailer Frame: Removing the rotted flooring showed a sturdy frame, but with lots of dings, chips and need of a good rustproofing.
|
|
|
|
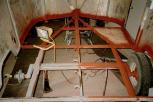 |
Trailer Frame: The entire frame had to be wirebrushed to remove old paint and rust, then painted with red primer and enamel final coat. Note the flooring in-step originally fixed in 1998, too solid to remove at this point.
|
|
|
|
 |
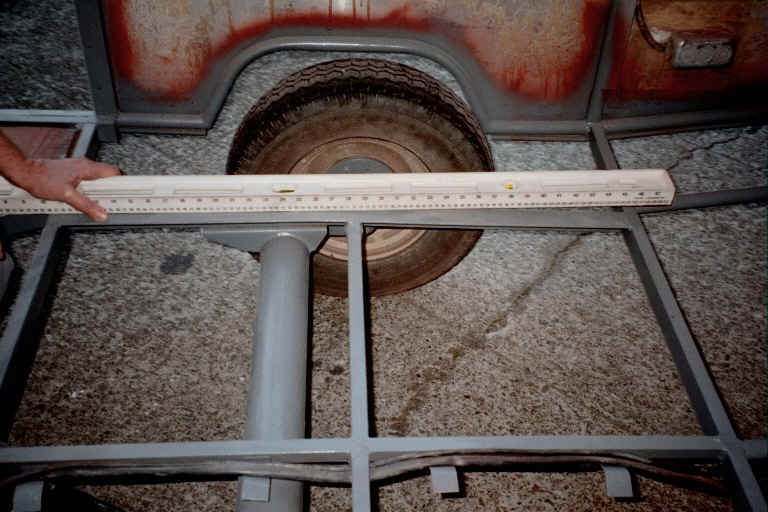
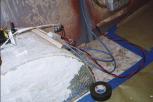
Trailer Frame: To access all points, the frame is jacked up and wheels removed.
|
|
|
|
 |
Trailer Frame: The right rear corner had bottomed out and needed special attention to fix the bent frame and dented aluminum skin.
|
|
|
|
 |
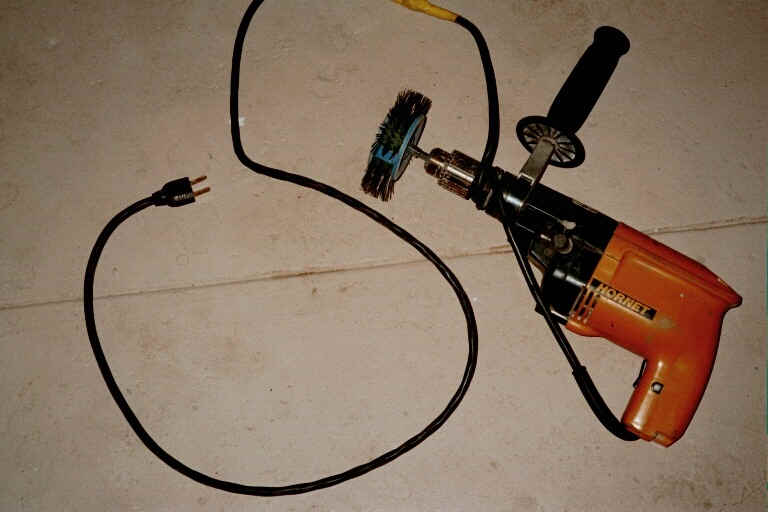
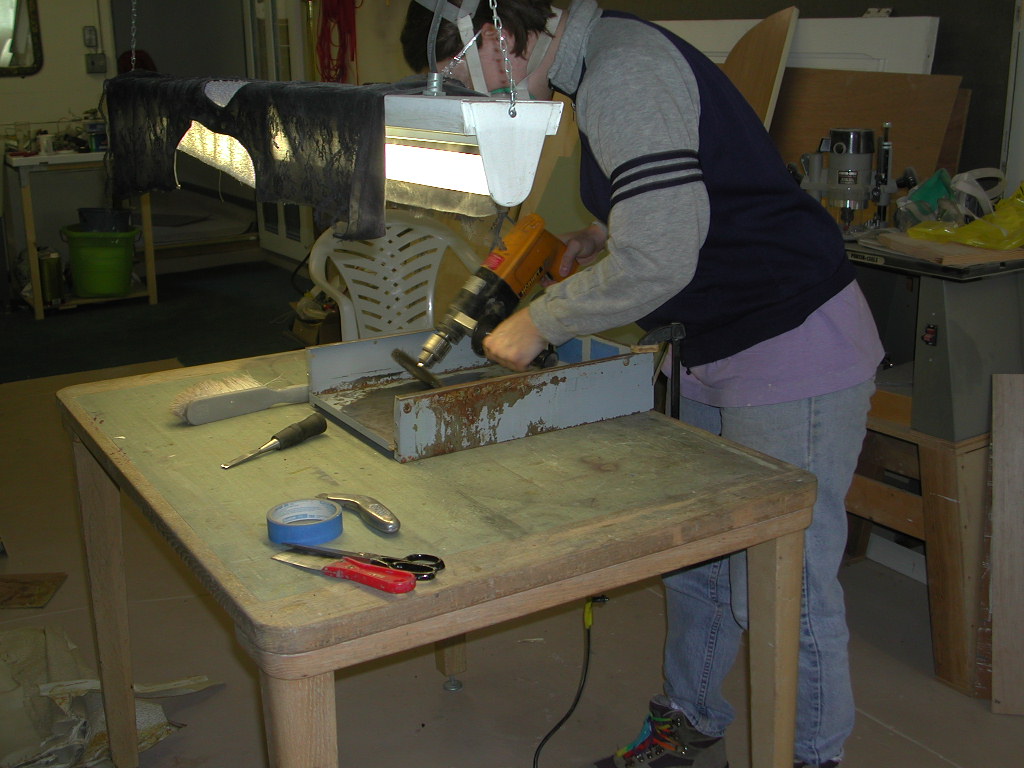
Trailer Frame: Be sure to keep track of your power cord when using a wire wheel upside down and spinning fast near your face.
|
|
|
|
 |
Trailer Frame: Only after finishing the final frame painting did I notice the right side of the frame was bent over the axle. I took it to a body shop, where they straightened it with specialized equipment (i.e. a 15 lb sledgehammer).
|
|
|
|
 |
Trailer Frame: comparison with left side of frame (not bent).
|
|
|
|
 |
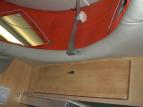
Using the original rotten flooring as stencil to cut new flooring. Increased the thickness of the floor from original approx. 3/8" to 1/2". Waterproofed exterior side with 2 coats primer and 2 coats oil-based emamel.
|
|
|
|
 |
Finished frame with new floor piece and wheelwell on left side. The new floor was done as 3 pieces instead of the original 2 pieces, because the door was not large enough for larger piece. Hymer/Eriba must have installed the original floor before putting the roof on. Also note wheelweel is patched with fiberglass, to fill several holes from thrown rocks.
|
|
|
|
 |
Body Work: The thin, soft aluminum skin had to be tapped out from the inside and smoothed over with autobody filler and glazing. The fiberglass roof cracks had to be patched with new glass mats and resin.
|
|
|
|
 |
Body Work: ready to prime and paint.
|
|
|
|
 |
Body Work: ready to prime and paint.
|
|
|
|
 |
Body Work: ready to prime and paint.
|
|
|
|
 |
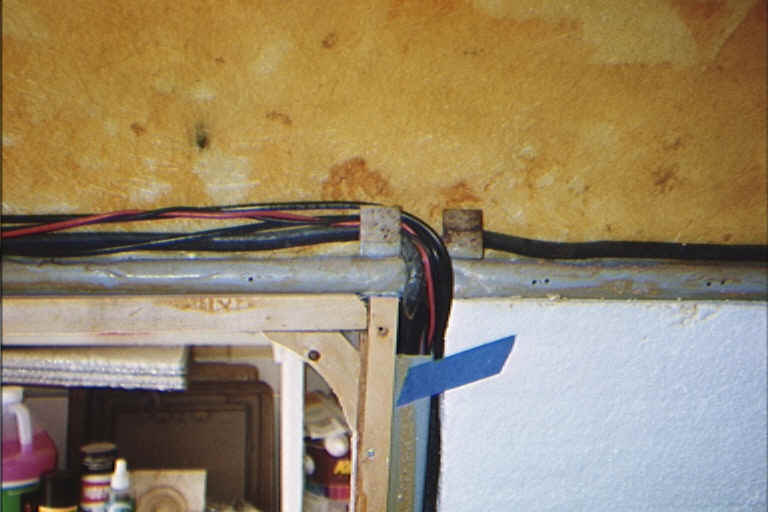
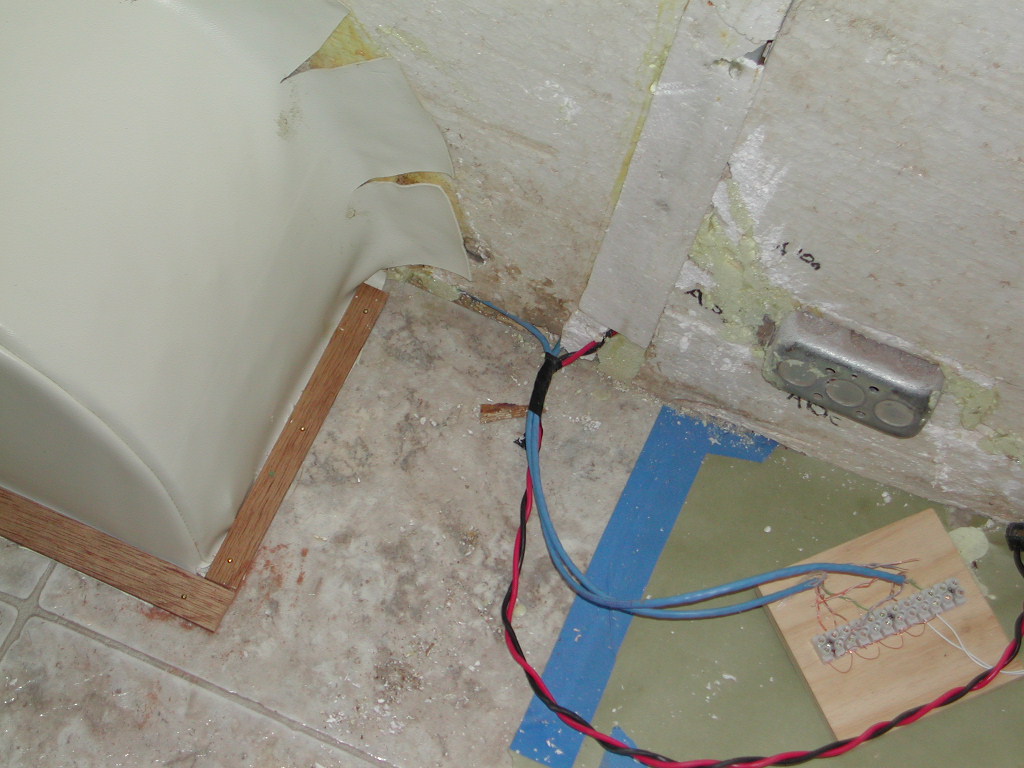
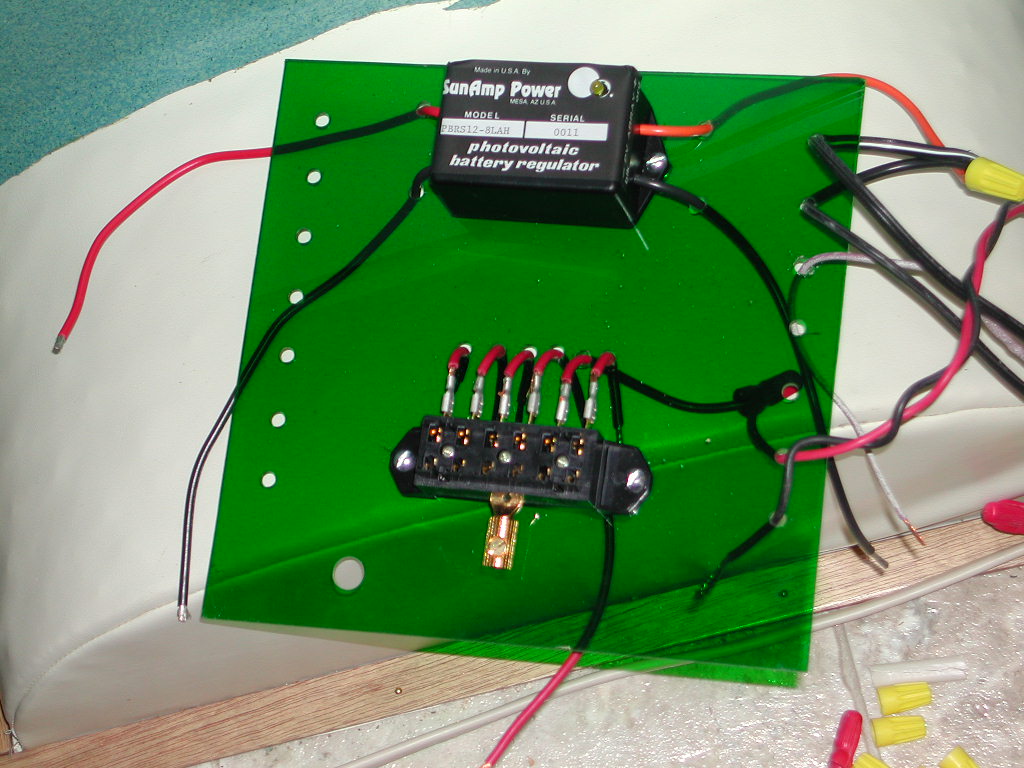
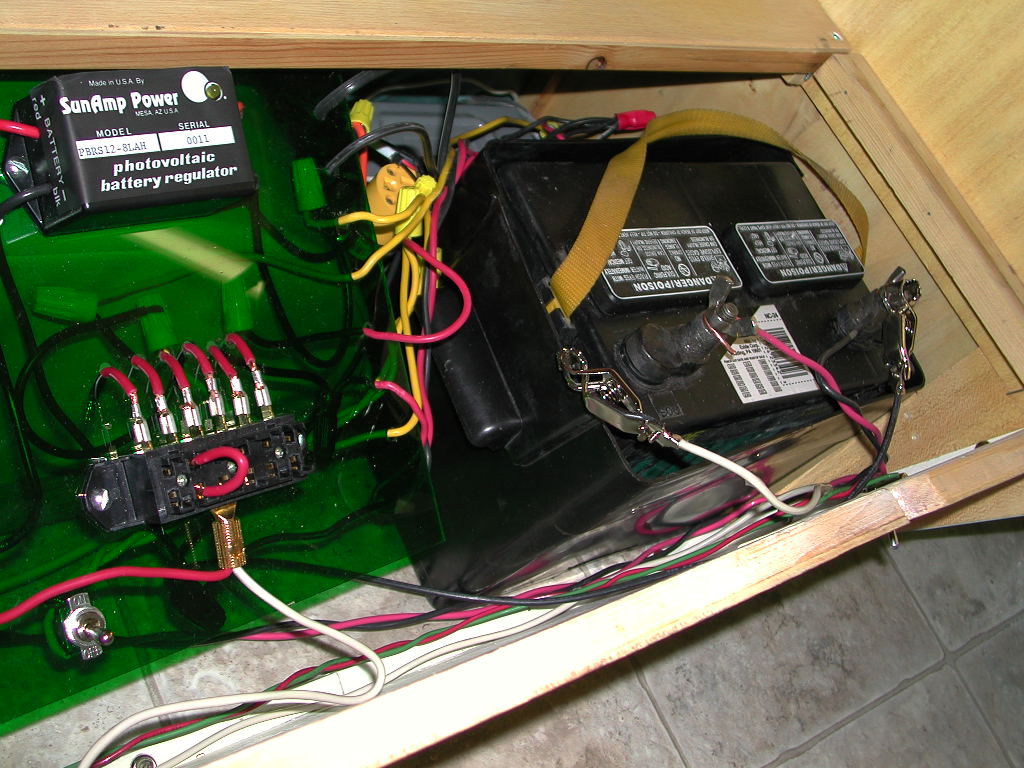
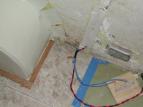
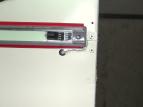
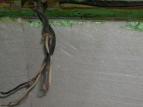
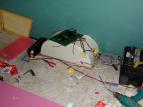
New Wiring: Gutting the interior provided an opportunity to improve the electrical system. During the previous 2 years, I had installed an 80 AmpHr deep cycle storage battery to power the 12v internal system. I also used a small 120W inverter to get 110V AC current for small appliances, GPS and laptop. On the road I keep the battery charged with a 55W photovoltaic (PV, solar) panel, which was fastened to the Jeep Wagoneer roofrack. For the restored Puck, I decided to install two 30W PV panels (Solarex model #MSX-30L) directly on the roof behind the popup top. Above left side window frame, power leads from PV panels, 110V ac and 12V dc distribution wires.
|
|
|
|
 |
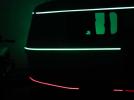
New Wiring: Right side doorframe, EL power wire for middle and lower strips. To jazz up the exterior, I installed electroluminescent strips in the exterior horizontal aluminum trim, replacing the sun-damaged vinyl trim filler. The following images document the internal wiring for these circuits. Used CATT5 cable for EL circuits, thinking this appropriate for high-frequency, low power circuits. Although CATT5 is lightweight and twisted pair wire bundles, single-stranded wire might be prone to breakage. We will see.
|
|
|
|
 |
New Wiring: Right wheelwell, distributiohn block for EL circuits.
|
|
|
|
 |
New Wiring: Right side windowframe, 12V DC power for EL system, 110V AC for external outlet, blue CATT5 cable for upper EL strips.
|
|
|
|
 |
New Wiring: Upper right rear corner, showing EL power leads. Single yellow lead is for right rear running light.
|
|
|
|
 |
New Wiring: Facing front, white wire for water pump, gray lead for running lights.
|
|
|
|
 |
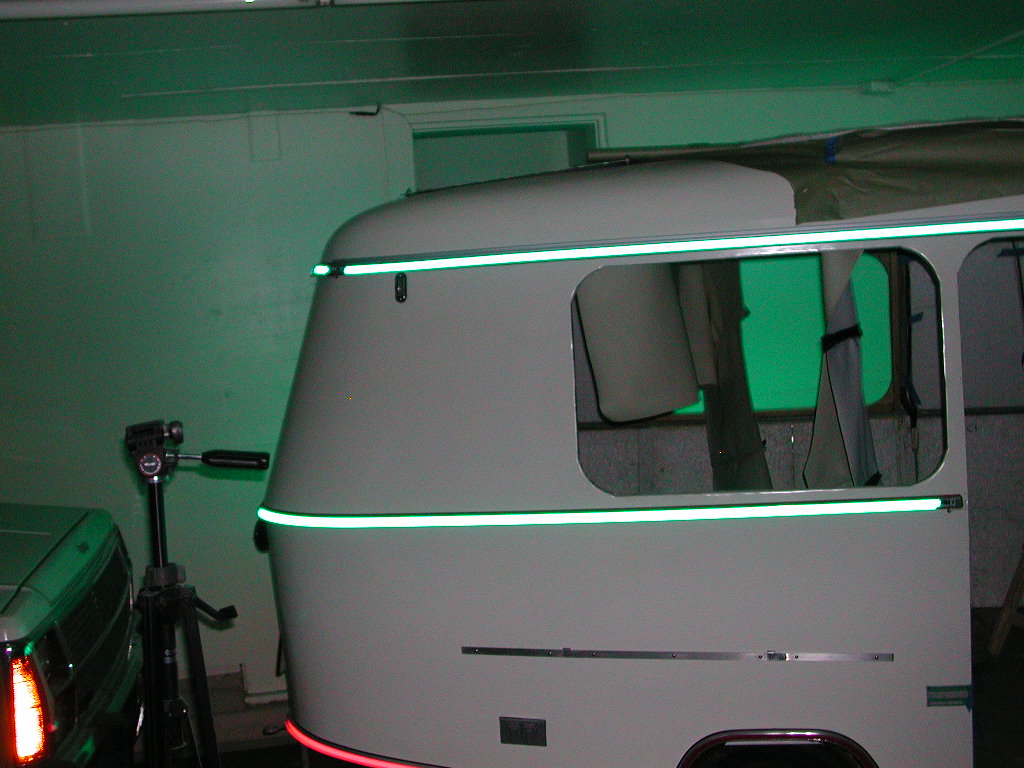
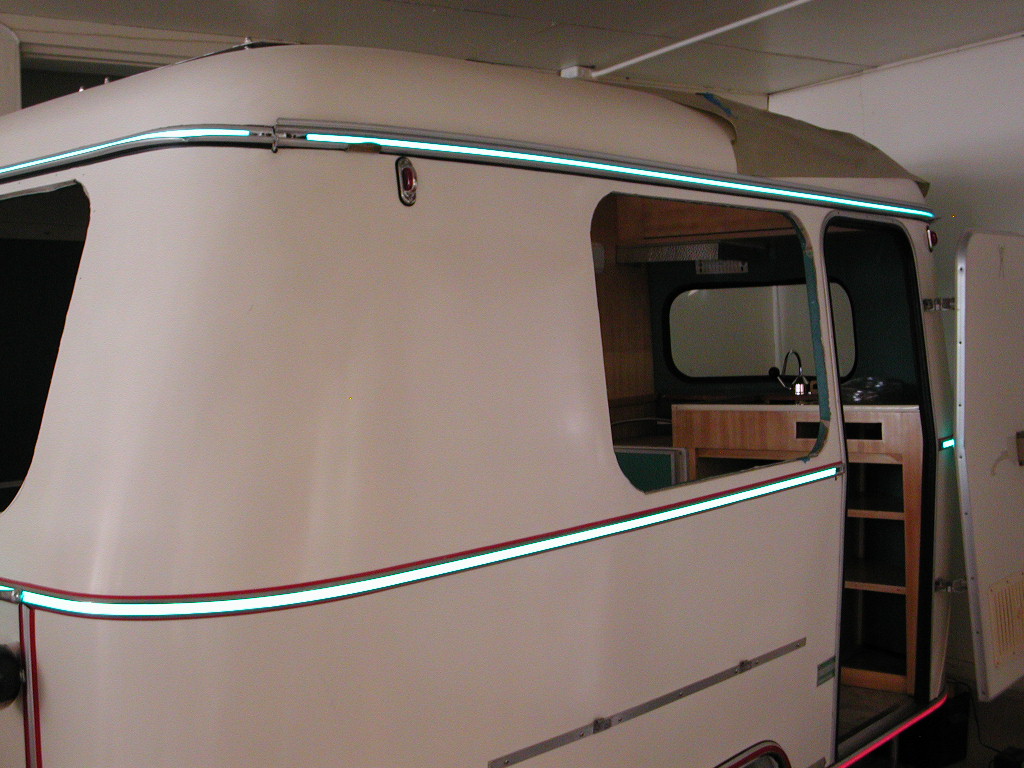
Adding exterior EL lighting was a goal since I began experimenting with EL a year before. The low power consumpion, colors and flexibility was highly appealing. Since the aluminum rails offered the best location to install the EL strips, I had to locate EL which would fit the 10mm and 15mm rail width. No USA suppliers stocked metric width, but I eventually found a manufacturer in the UK (EL Technologies Ltd). After protracted email communications with the Brits (language differences?), I finally received the material, paying dearly for wire transfers, overpriced shipping and special coatings to waterproof and UV protect the EL. As I write this narrative less than a year after getting the UK EL strips, most of the UK material has failed and I am in the process of replacing everything with vastly superior USA-made EL. Advice to everyone - Don't buy British technology!
EL Wiring: Right wheelwell after vinyl installed, EL distribution block and 12V power (red&black).
|
|
|
|
 |
EL Wiring: low light image of middle EL spanning front handle.
|
|
|
|
 |
EL Wiring: exposure of same EL section, EL illumination only.
|
|
|
|
 |
EL Wiring: To span the handle screw holes, it was necessary to drill the screw holes through the EL, using a tiny dental drill bit. The cut edges were sealed with epoxy. The handle screws then had to be insulated with nylon bushings to prevent shorting to the frame.
|
|
|
|
 |
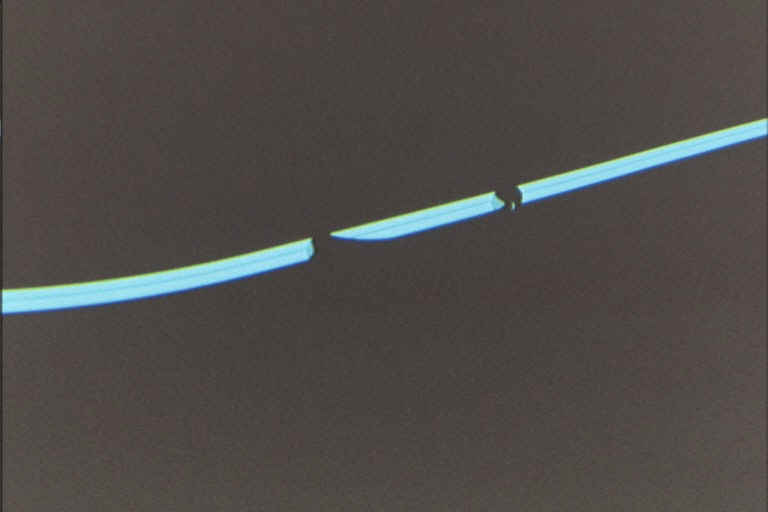
EL Wiring: detail shot of EL strip electrical connection. The connectors were individually shaped to fit the rails, and all exposed wire was sealed with caulk. Already visible is some delamination of the EL layers and shorting. Crappy British junk!
|
|
|
|
 |
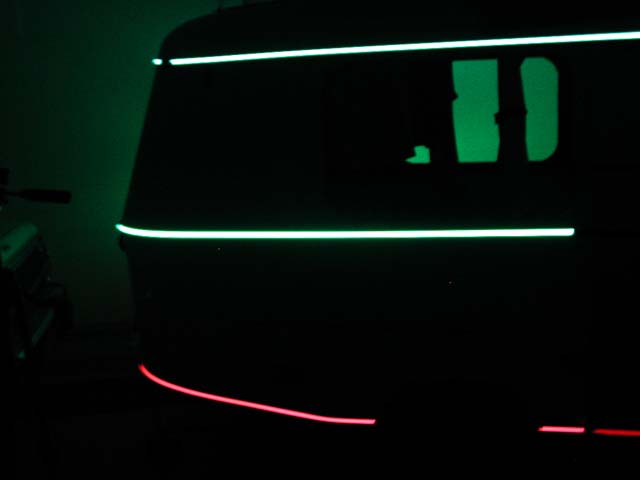
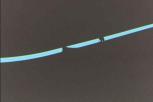
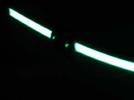
El Wiring: True colors are blue-top, green-middle, red-bottom. There is sufficient light from these bands to easily get around at night.
|
|
|
|
 |
EL Wiring: Detail of door stop strip.
|
|
|
|
 |
EL Wiring: rear view.
|
|
|
|
 |
EL Wiring: rear view.
|
|
|
|
 |
Insulation: Rear left corner. Used 1/2" high density foam glued with contact cement, both sprayed-on and brushed-on.
|
|
|
|
 |
Insulation: Front left corner.
|
|
|
|
 |
Insulation: Front upper view.
|
|
|
|
 |
Insulation: Front lower view.
|
|
|
|
 |
Insulation: front view.
|
|
|
|
 |
Insulation: Rear view.
|
|
|
|
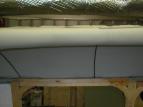 |
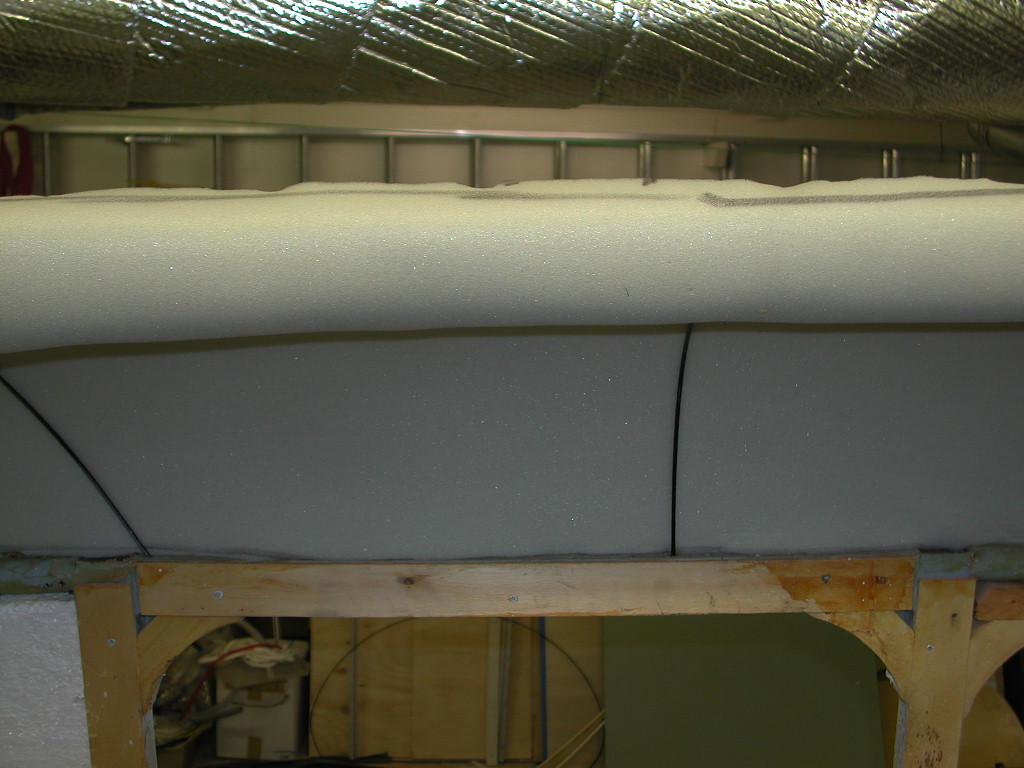
Insulation: Popup lip.
|
|
|
|
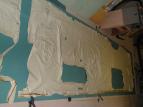 |
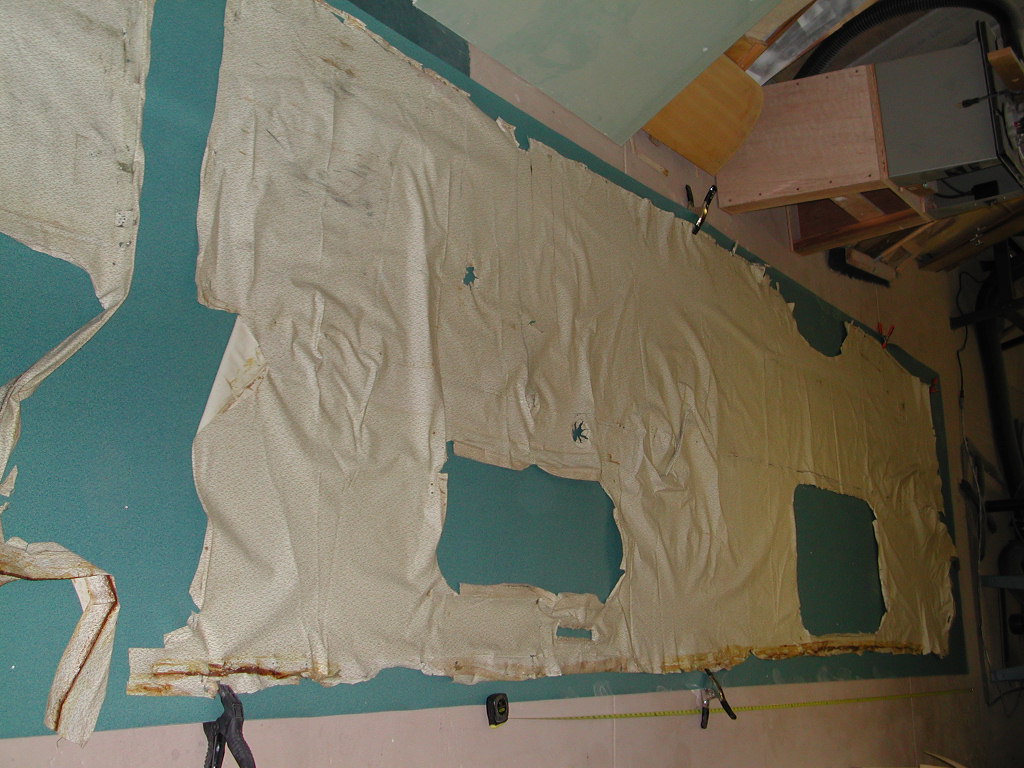
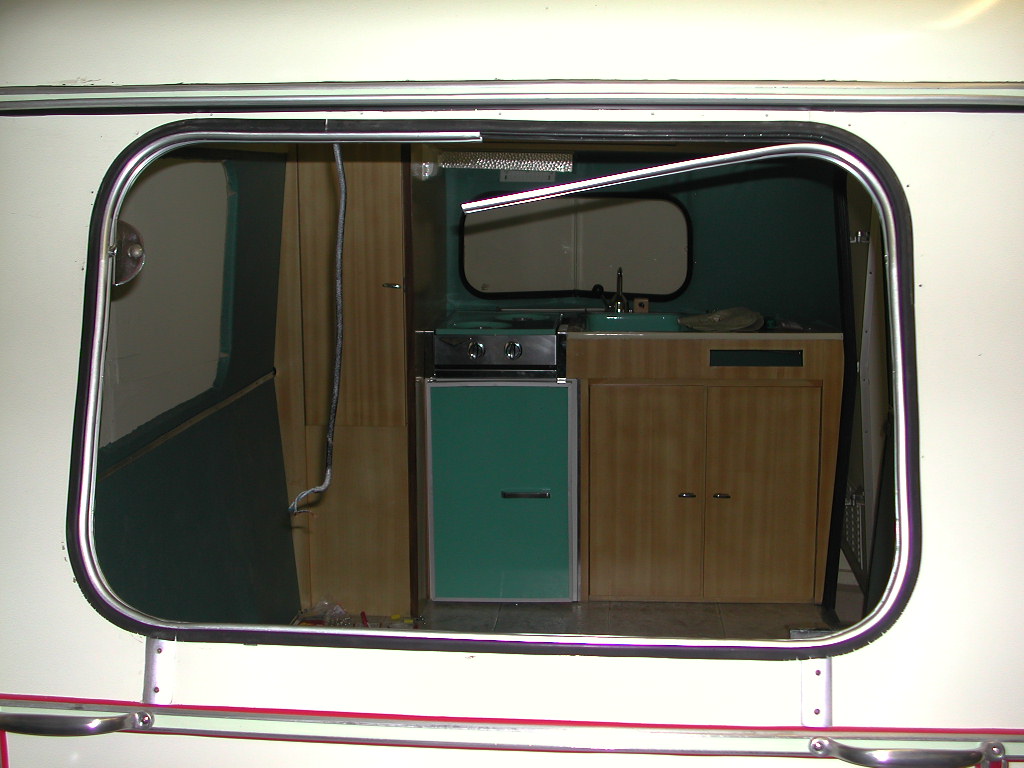
Naugahyde (http://www.naugahyde.com): To match the turquoise color of the original appliances, we chose Naugahyde Tusk Pattern/Blue Sage Color (TK74). Here the original vinyl interior is used as a pattern to mask the naugahyde.
|
|
|
|
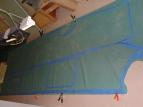 |
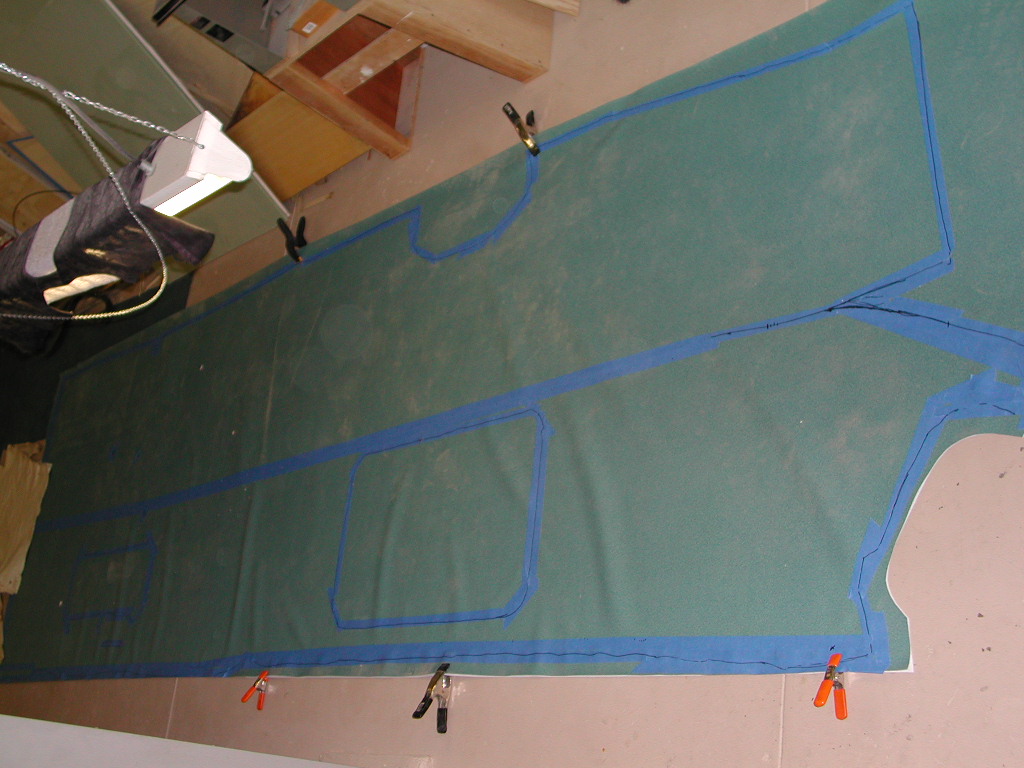
Naugahyde: The new naugahyde pattern is stenciled and rough cut.
|
|
|
|
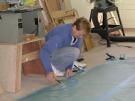 |
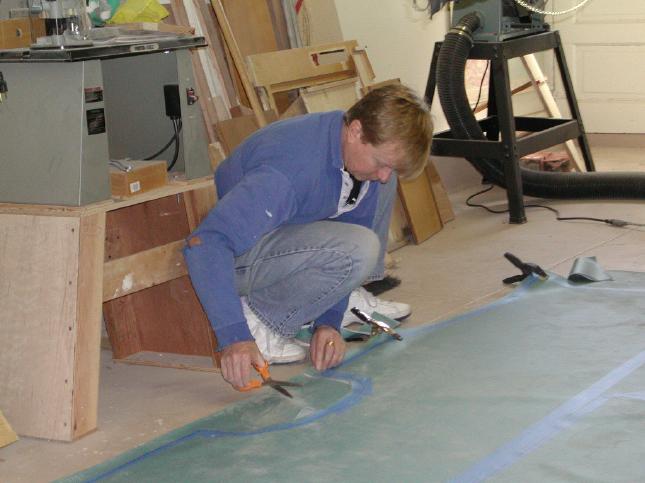
Naugahyde: Nervously cutting into a $300 piece of naugahyde.
|
|
|
|
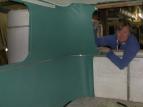 |
Naugahyde: Gluing and stretching the naugahyde over the window frames. Note the red eyes and moronic smile of the installer: Be careful with contact cement glue fumes.
|
|
|
|
 |
Naugahyde: Care had to be taken with applying the contact cement to the body frame sections. Styrofoam insulation is melted by the glue solvent.
|
|
|
|
 |
Naugahyde: Naugahyde drapped over front interior.
|
|
|
|
 |
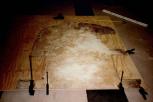
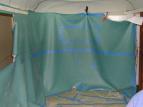
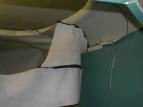
Naugahyde: The original ceiling insulation and vinyl had deteriorated from water damage and the 5 spring steel support rods were very rusted. I could not find a substitute for the rods, so the originals were wire-brushed, cleaned and painted. The 6 ceiling panels were carefully reproduced with white naugahyde, with tacking (piping?) for the support rods. Attaching the new ceiling was a very tricky process. Proper tensioning had to be maintained between walls, the support rods and the popup lip edge during the gluing. As with the original design, staples were used to hold the glued naugahyde over the popup lip.
|
|
|
|
 |
Naugahyde: Attaching the ceiling.
|
|
|
|
 |
Naugahyde: Attaching the ceiling.
|
|
|
|
 |
Naugahyde: Attaching the ceiling.
|
|
|
|
 |
Naugahyde: Wheelwell covers, tacked down with 1/4" plywood strips.
|
|
|
|
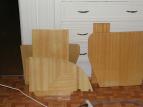 |
Cabinetry: The beautiful original woodwork of the Puck was preserved to the best of my ability. The lightweight design of the cabinets shows a remarkable economy of wood laminates, glue, and lots and lots of screws. Water damage necessitated replacement of a few sections, particularly the bottoms of both front and back overhanding cabinets. Several wooded support sections not normally visible were replaced with similar materials. Chipped veneer was replaced with salvaged sections of original wood. As months passed, pieces of refinished interior cabinets accumulated in every room of the house.
|
|
|
|
 |
Cabinetry: Original vinyl edge bumper trim proved impossible to locate, as did similar vinyl trims. Eventually I asked my neighbor, carpenter Gilberto Nunez, for advice and he had a perfect color of turquiose vinyl edging.
|
|
|
|
 |
Cabinetry: Clamping in the front counter.
|
|
|
|
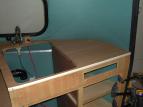 |
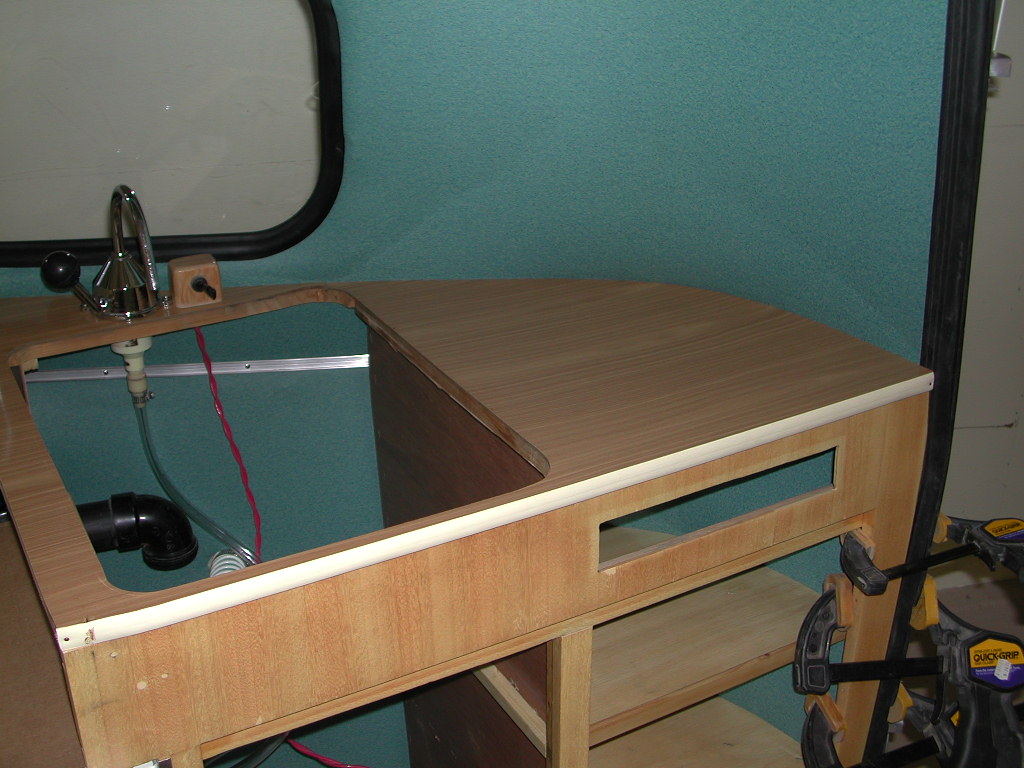
Cabinetry: Front right counter.
|
|
|
|
 |
Cabinetry: Front left cabinet top.
|
|
|
|
 |
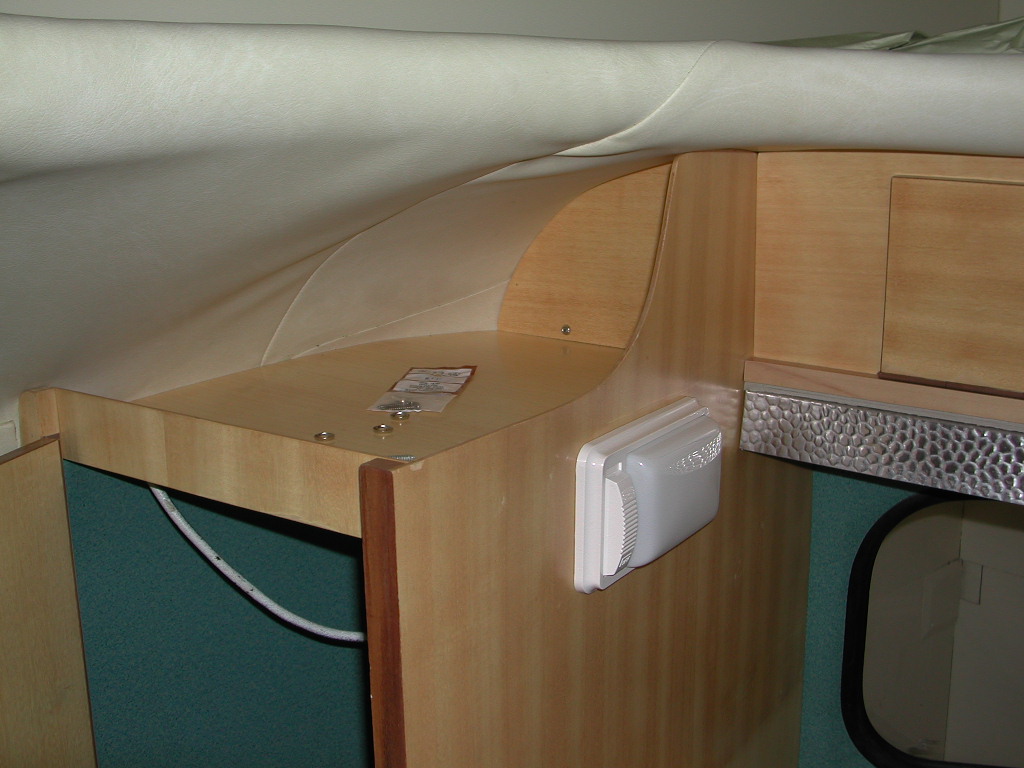
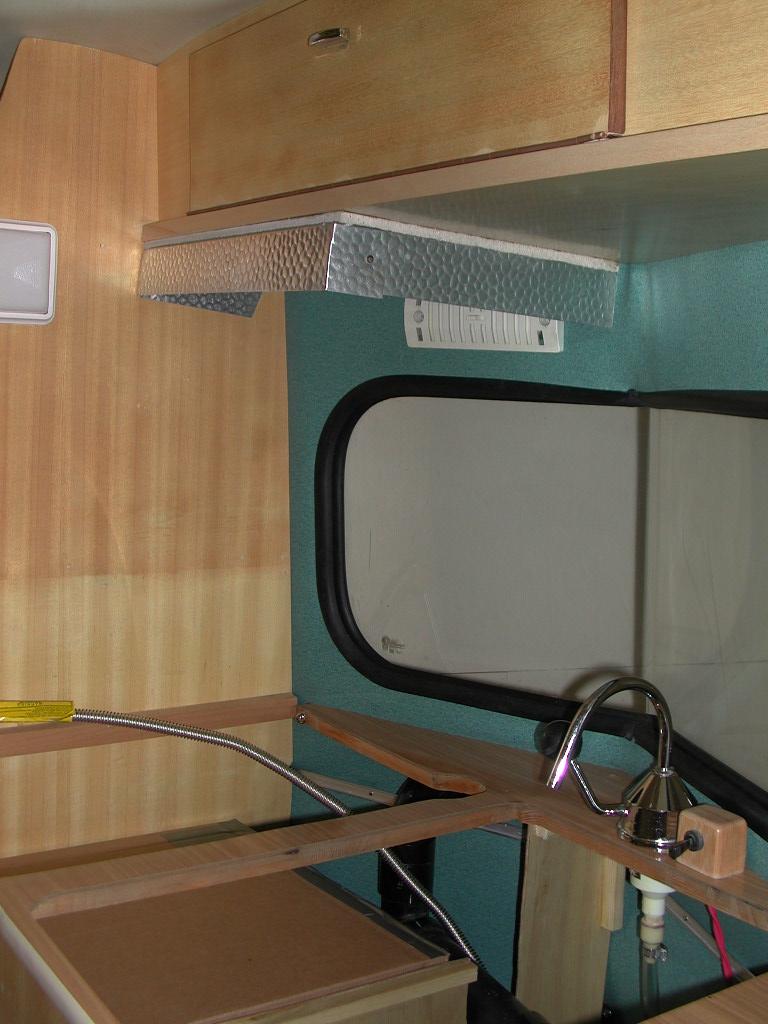
Cabinetry: range hood.
|
|
|
|
 |
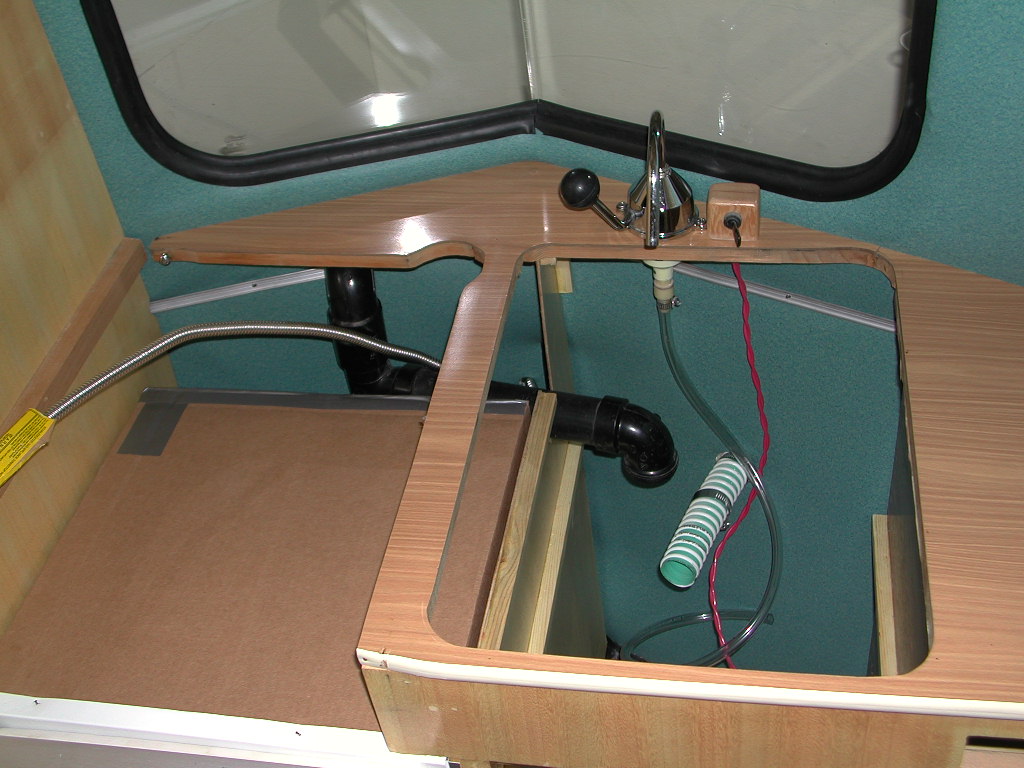
Cabinetry: front counter without sink and stove.
|
|
|
|
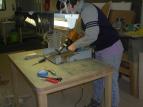 |
Cabinetry: Wire-brush cleaning of stove before painting (by Sarah).
|
|
|
|
 |
Cabinetry: Front interior.
|
|
|
|
 |
Cabinetry: Front interior.
|
|
|
|
 |
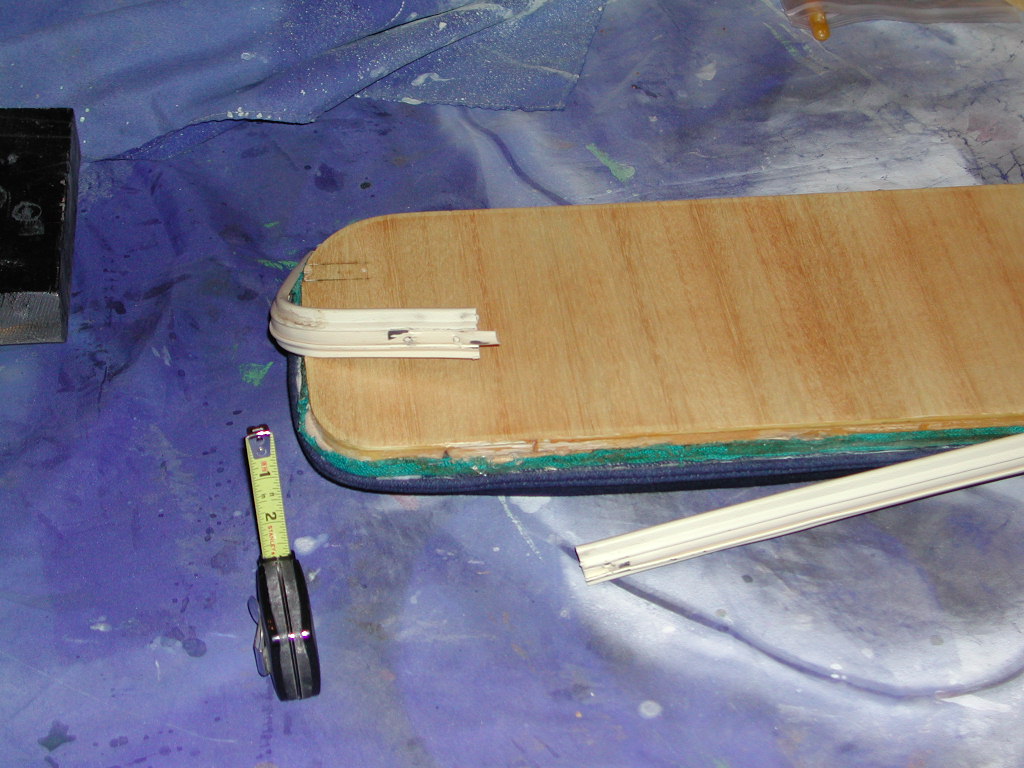
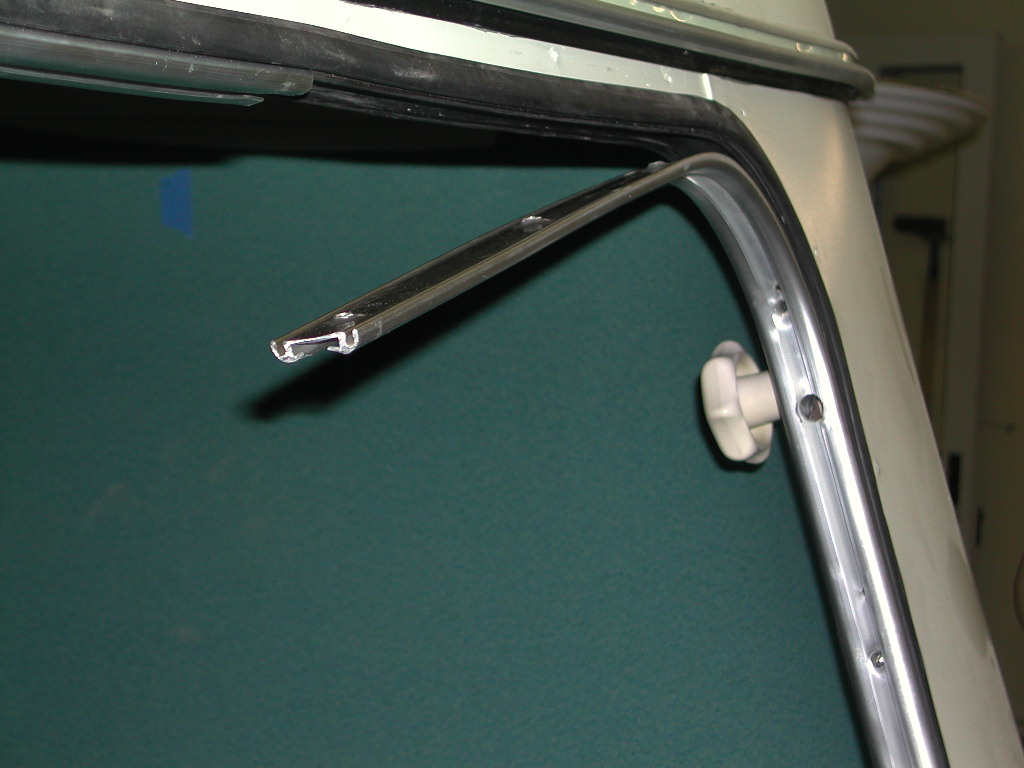
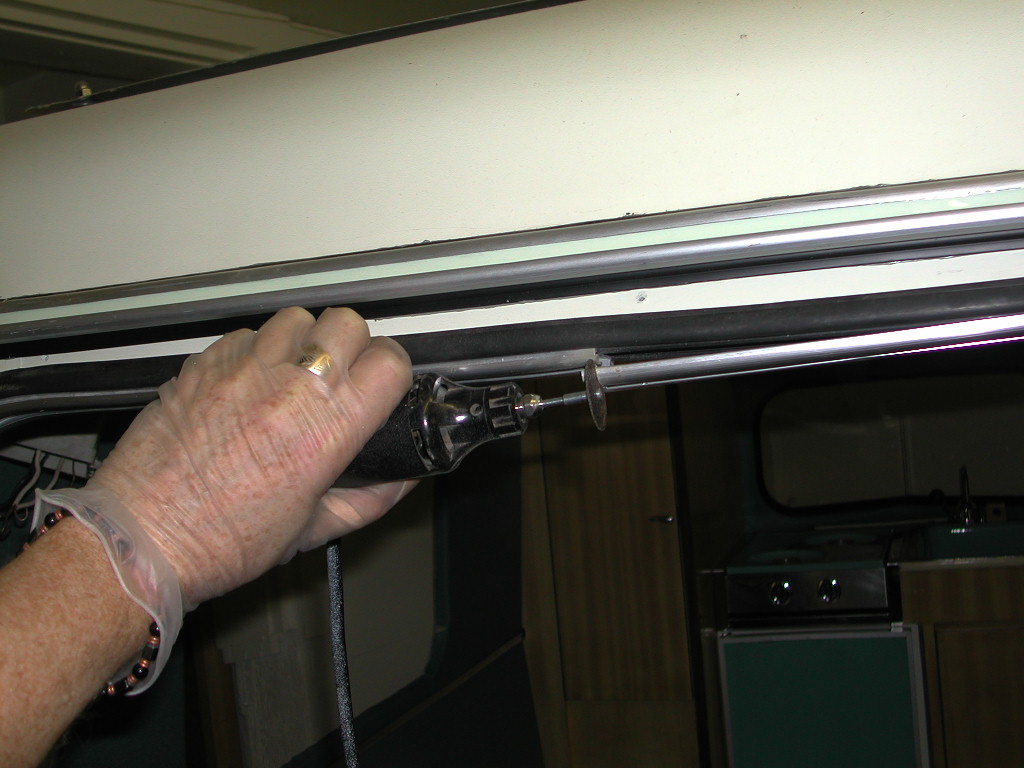
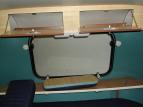
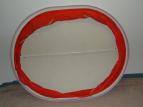
Rear Window: The thickness of the naugahyde made the aluminum window frame to tight, necessitating cutting off about 1/4" with a carbide wheel.
|
|
|
|
 |
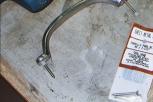
Rear Window: Window frame detail.
|
|
|
|
 |
Rear Window: Cutting the frame.
|
|
|
|
 |
Rear Cabinetry: Rear bottom locker. Note water damage on left side, normally covered by cushions.
|
|
|
|
 |
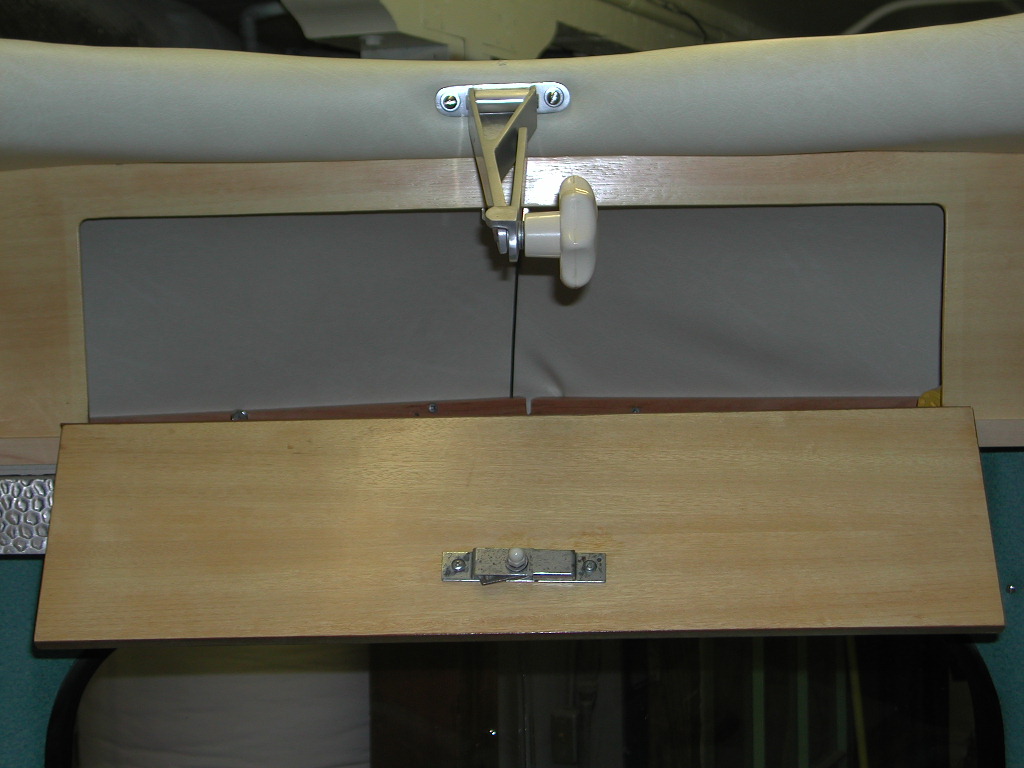
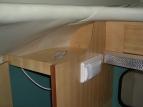
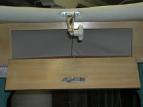
Rear Overhead Cabinet: details.
|
|
|
|
 |
Rear Overhead Cabinet: interior view.
|
|
|
|
 |
Rear Overhead Cabinet: details.
|
|
|
|
 |
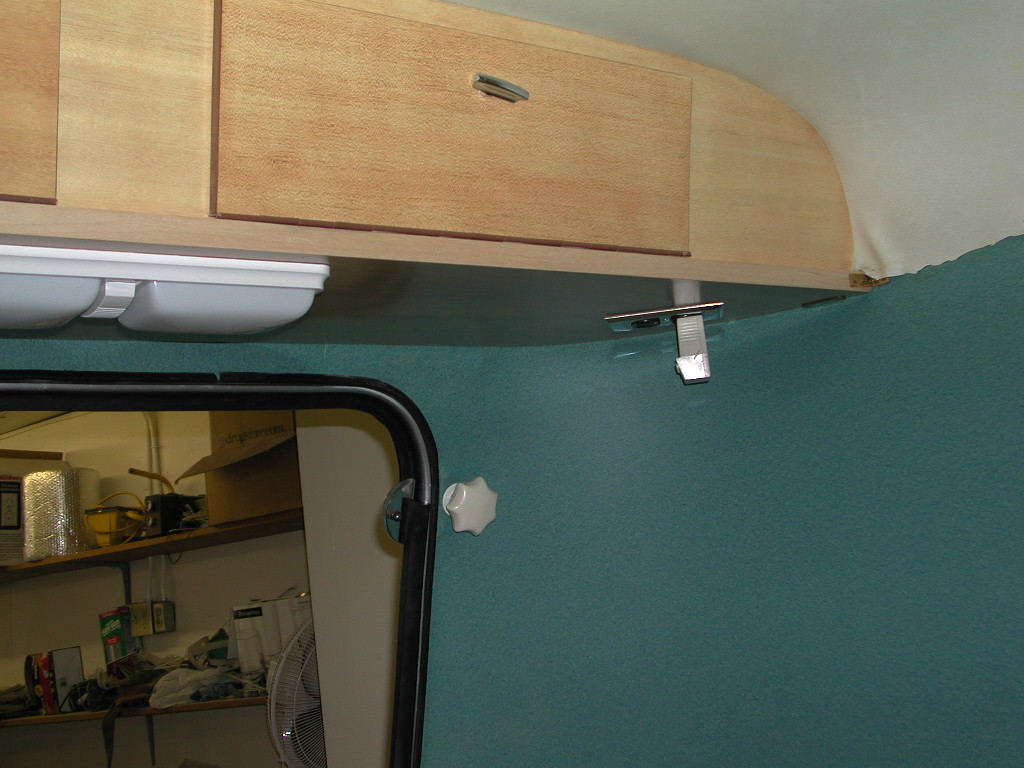
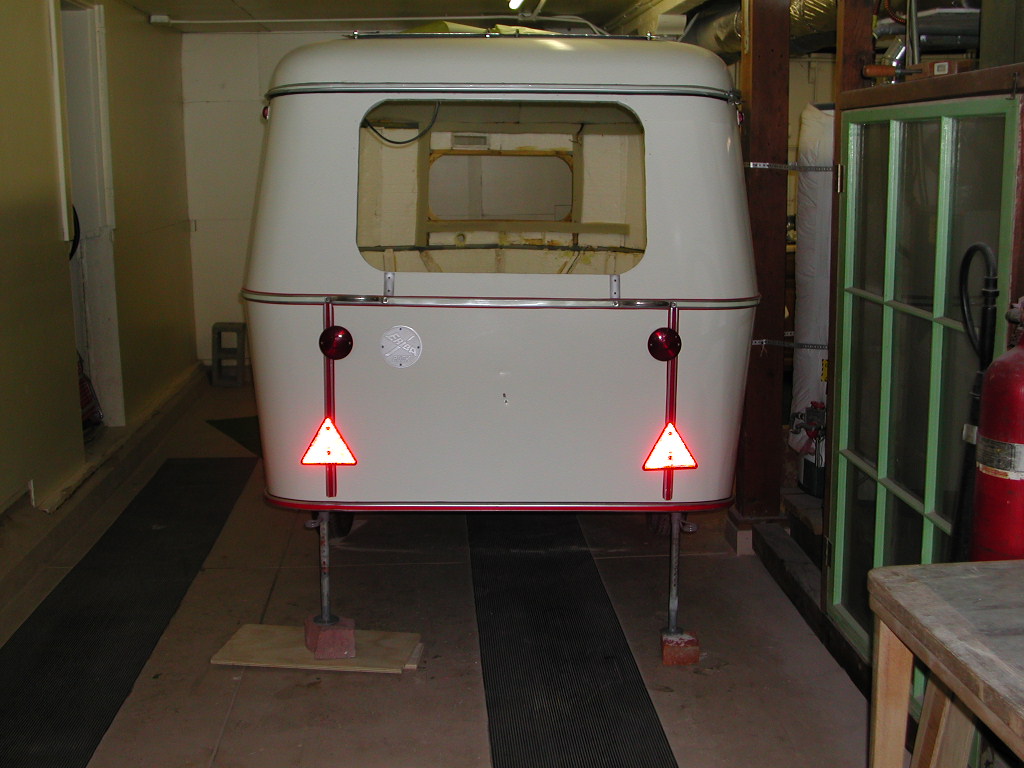
Rear View: Tail lights, trim and reflectors installed.
|
|
|
|
 |
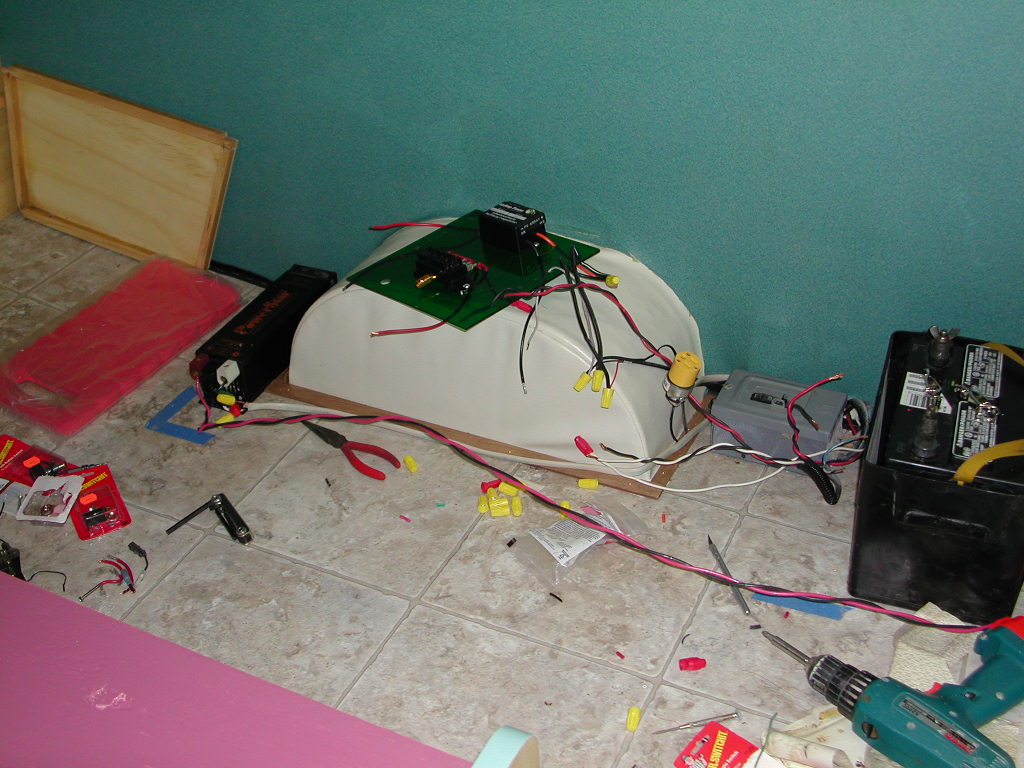
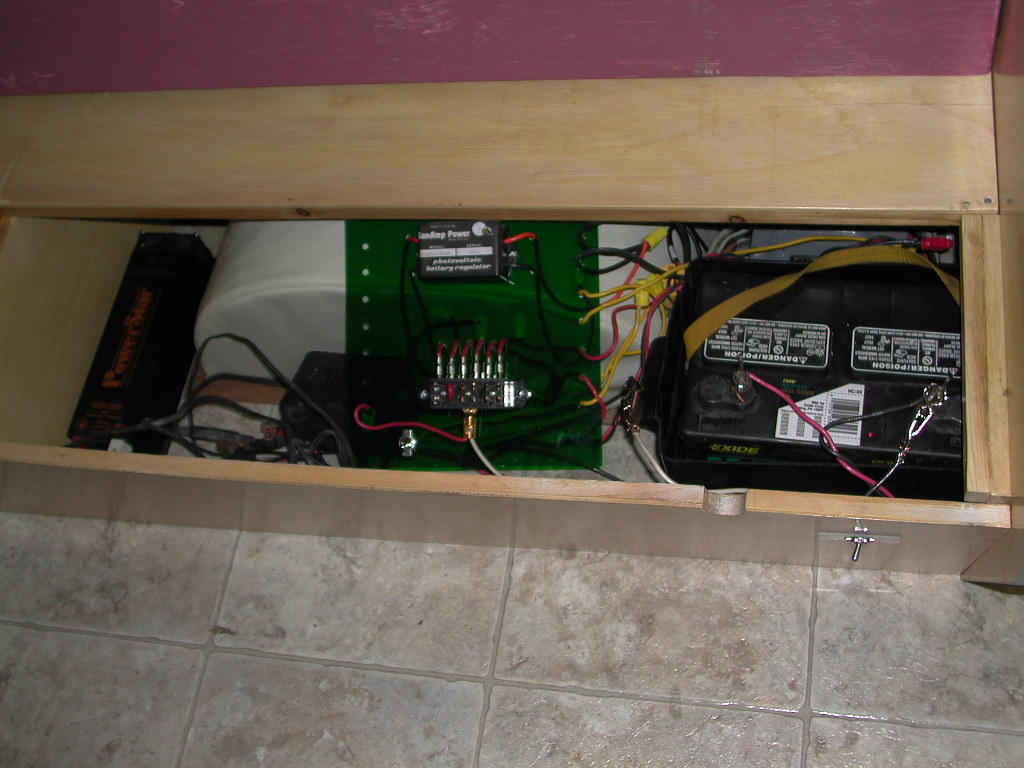
Electical: Preparing components for installation in left locker.
|
|
|
|
 |
Electrical: Fuse panel under assembly.
|
|
|
|
 |
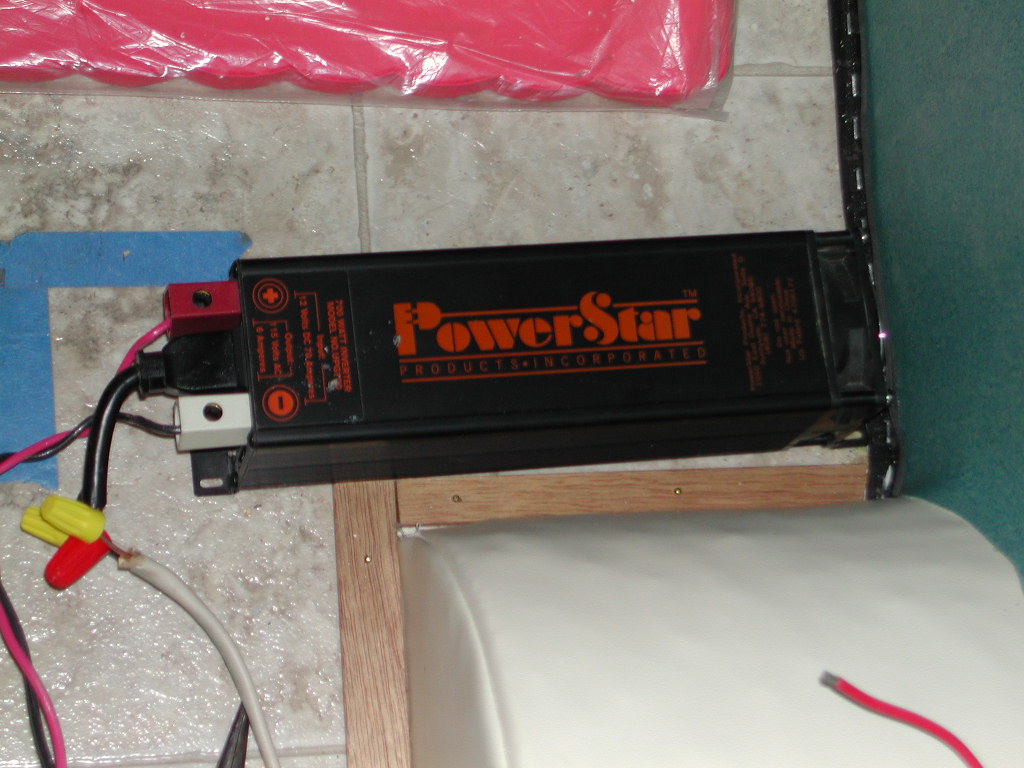
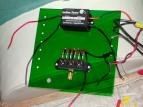
Electrical: 700 W DC->AC inverter.
|
|
|
|
 |
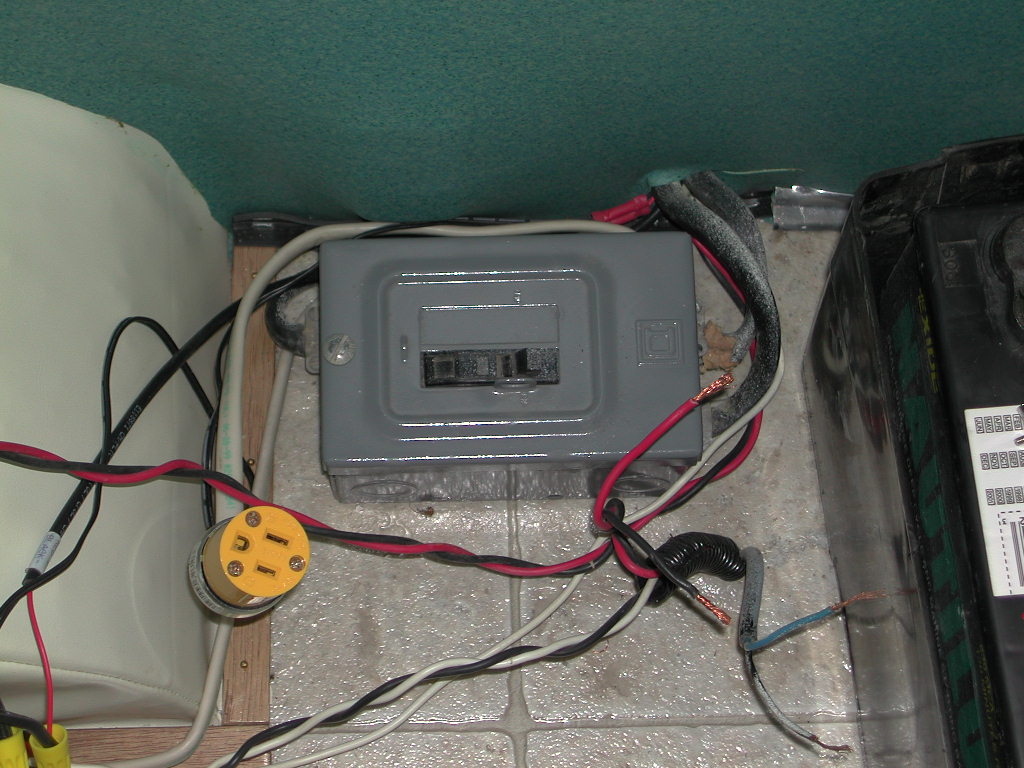
Electrical: Shore power breaker box. New AC outlet for internal charger running on shore power.
|
|
|
|
 |
Electrical: Rough-in of electrical system. Switch on lower right powers AC inverter.
|
|
|
|
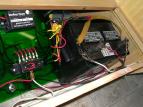 |
Electrical: Storage battery and fuse panel detail (rough-in).
|
|
|
|
 |
Final Assembly: Side panel, end panel awaiting assembly.
|
|
|
|
 |
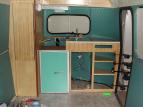
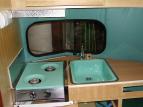
Final Assembly: Fromt interior with stove, sink installed.
|
|
|
|
 |
Final Assembly: Rear overhead cabinets open.
|
|
|
|
 |
Final Assembly: Front overhead cabinet and popup hinge details.
|
|
|
|
 |
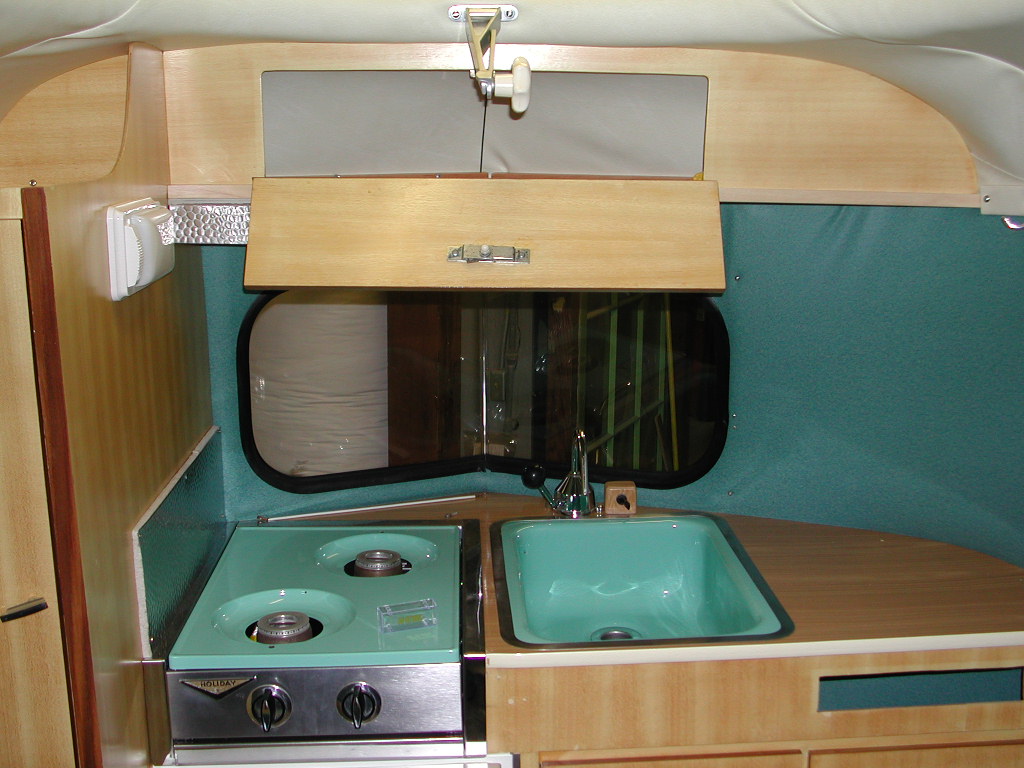
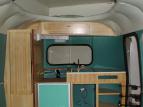
Final Assembly: Front interior finished.
|
|
|
|
 |
Final Assembly: Front interior finished.
|
|
|
|
 |
Cabinetry: Front left cabinet.
|
|
|
|
 |
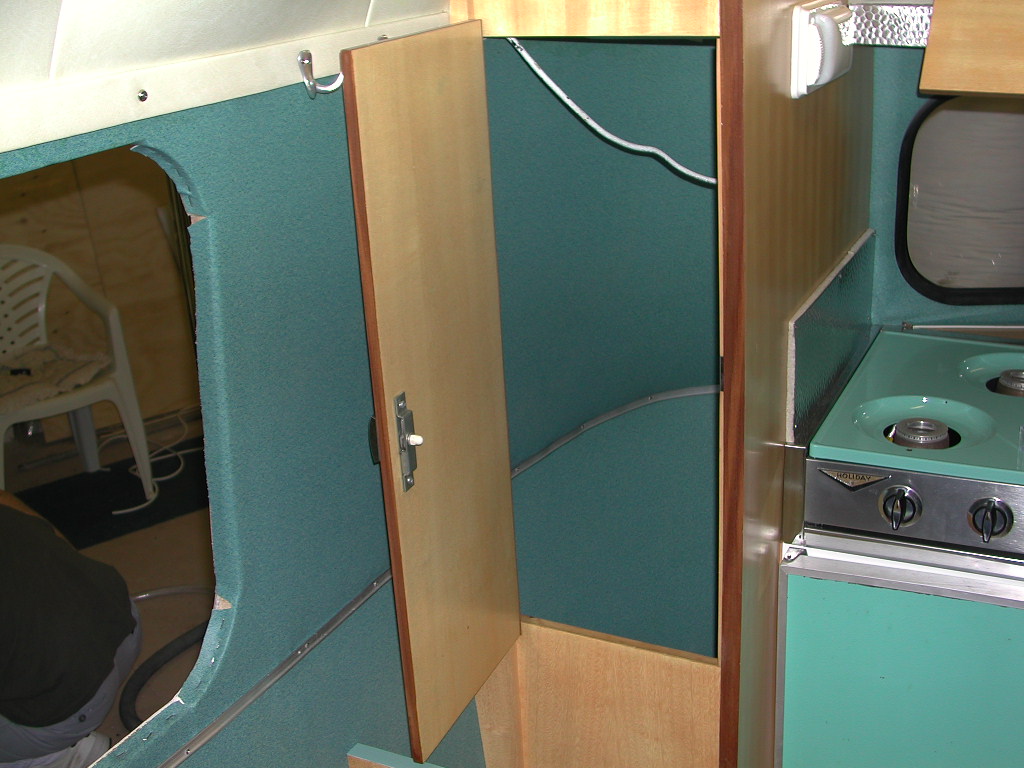
Cabinetry: Front interior open.
|
|
|
|
 |
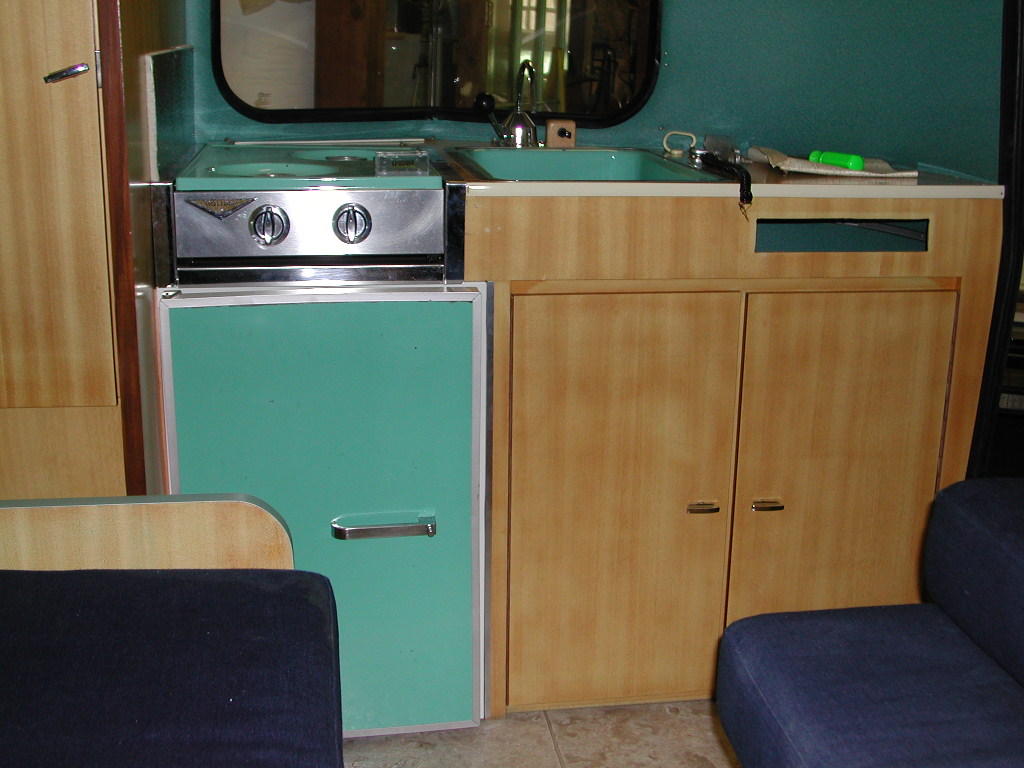
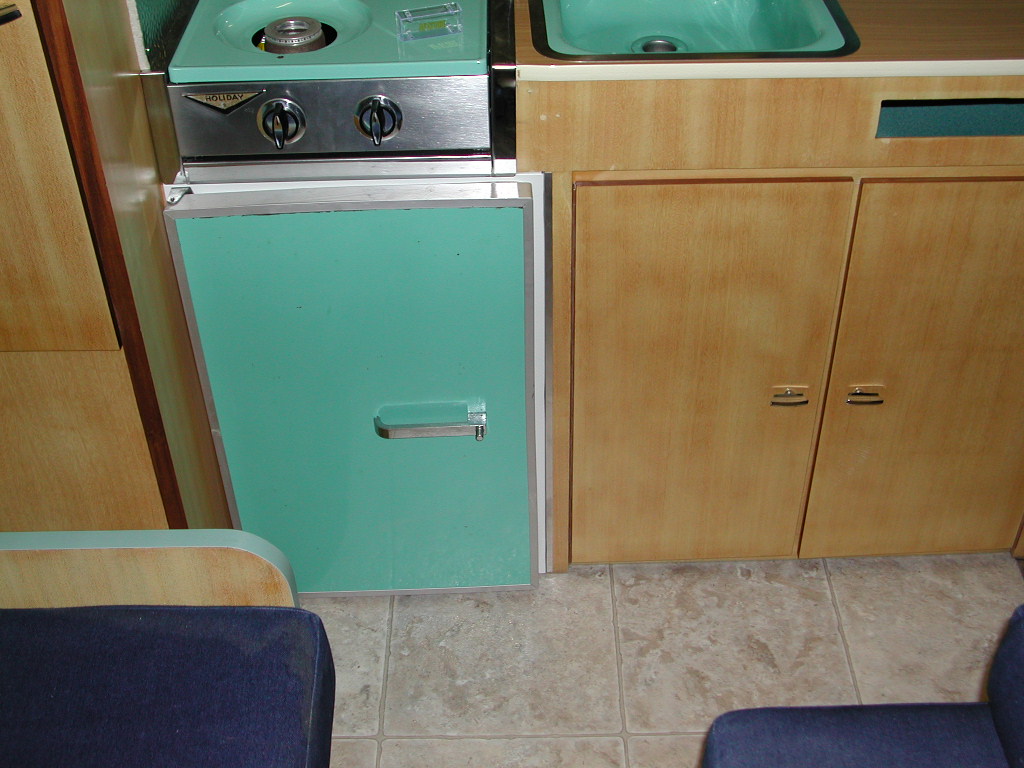
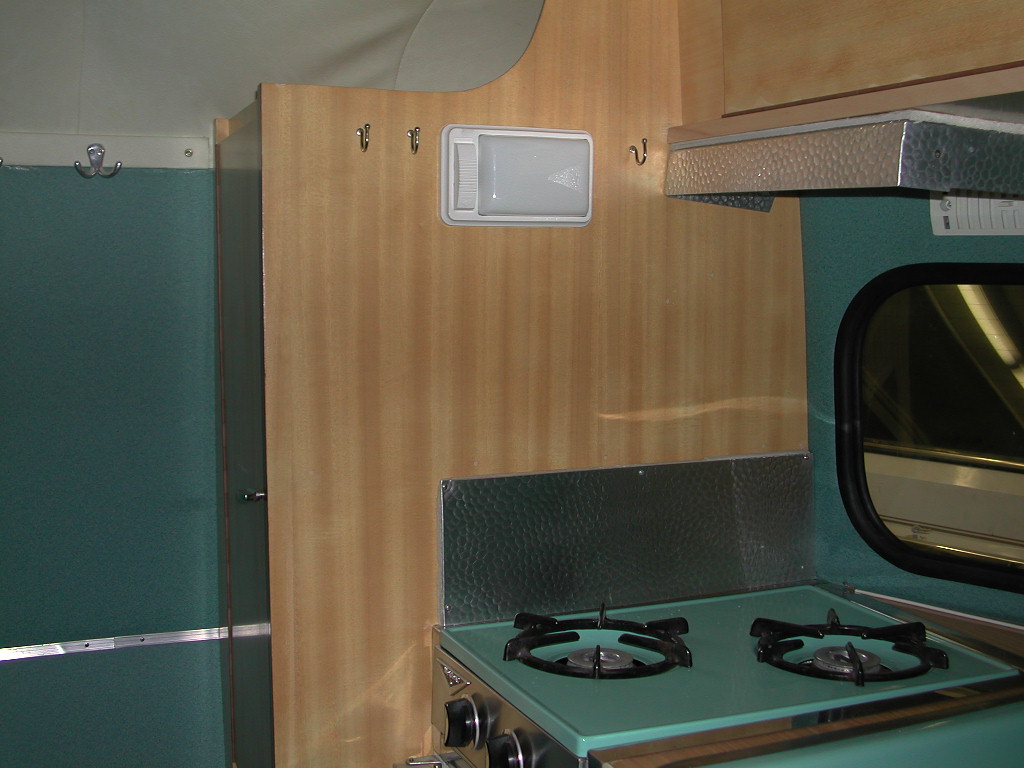
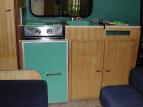
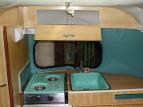
Cabinetry: Kitchen re-installed.
|
|
|
|
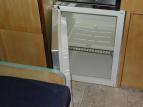 |
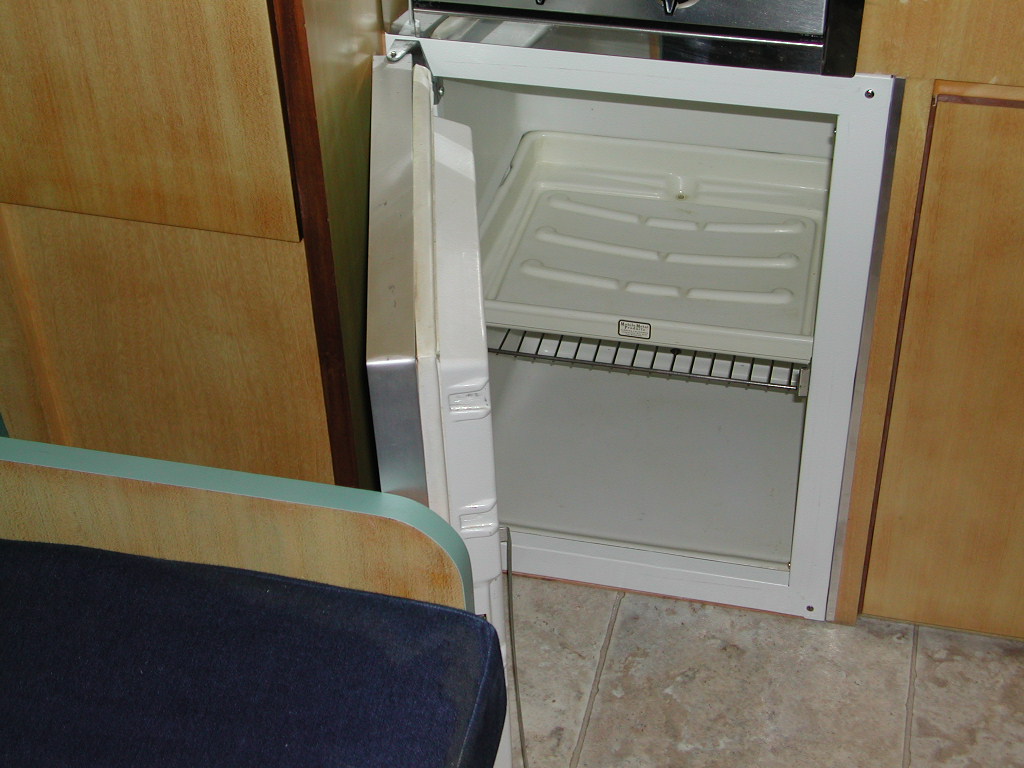
Cabinetry: re-built icebox.
|
|
|
|
 |
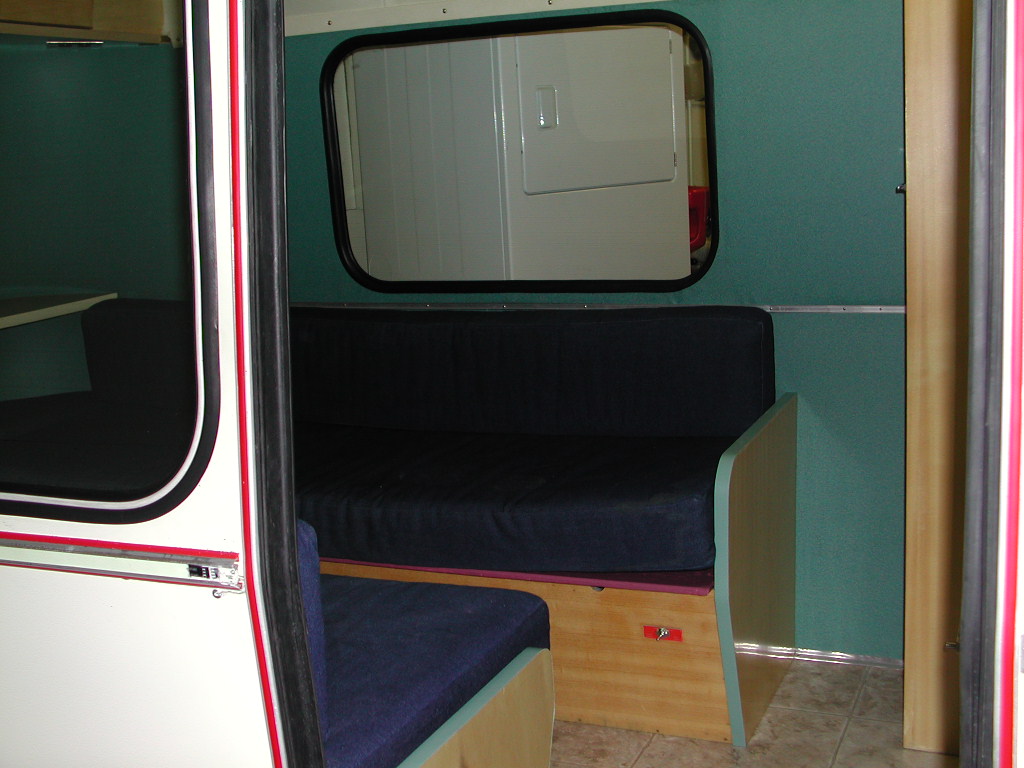
Cabinetry: Benches with cushions.
|
|
|
|
 |
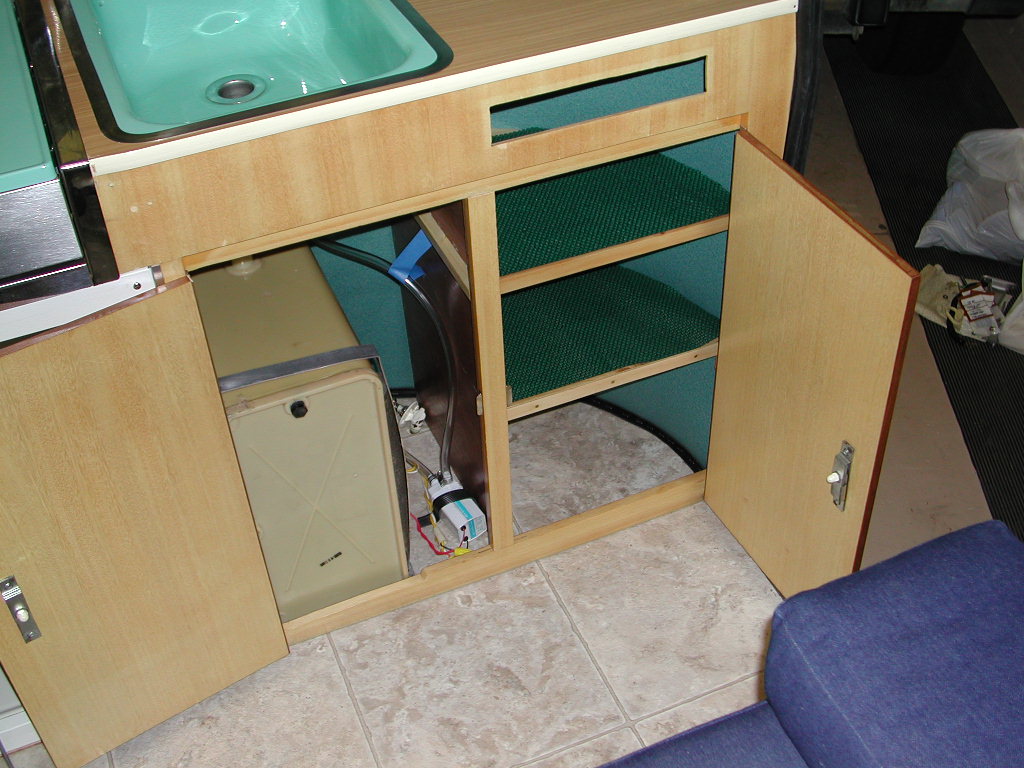
Cabinetry: Front left cabinets.
|
|
|
|
 |
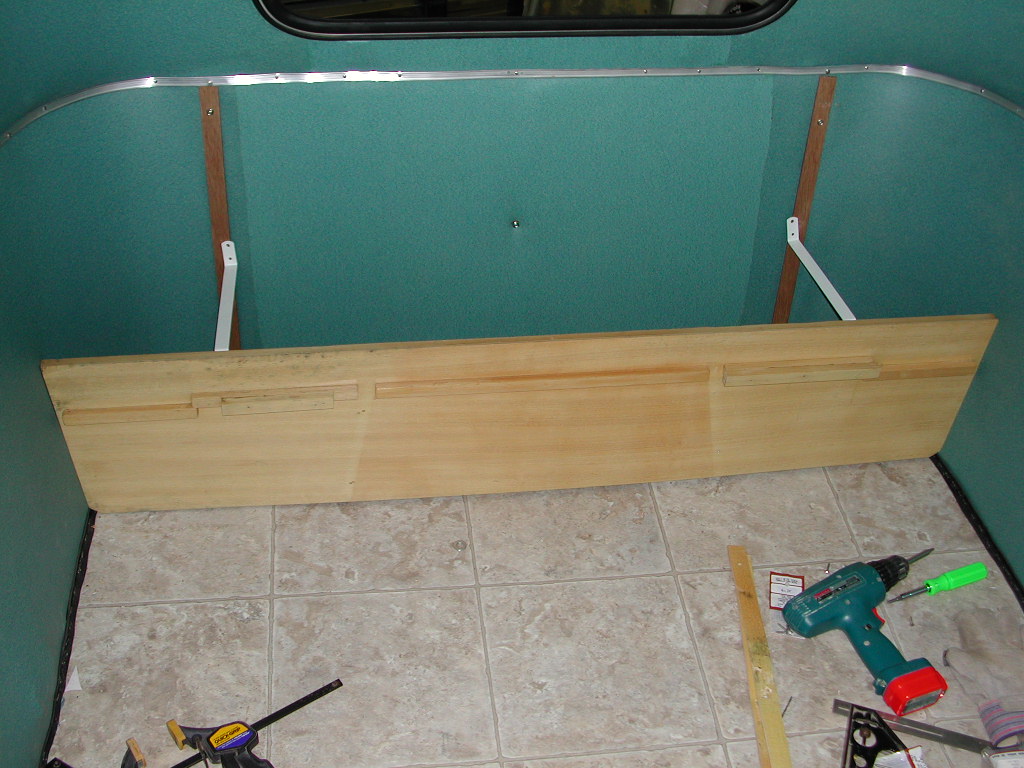
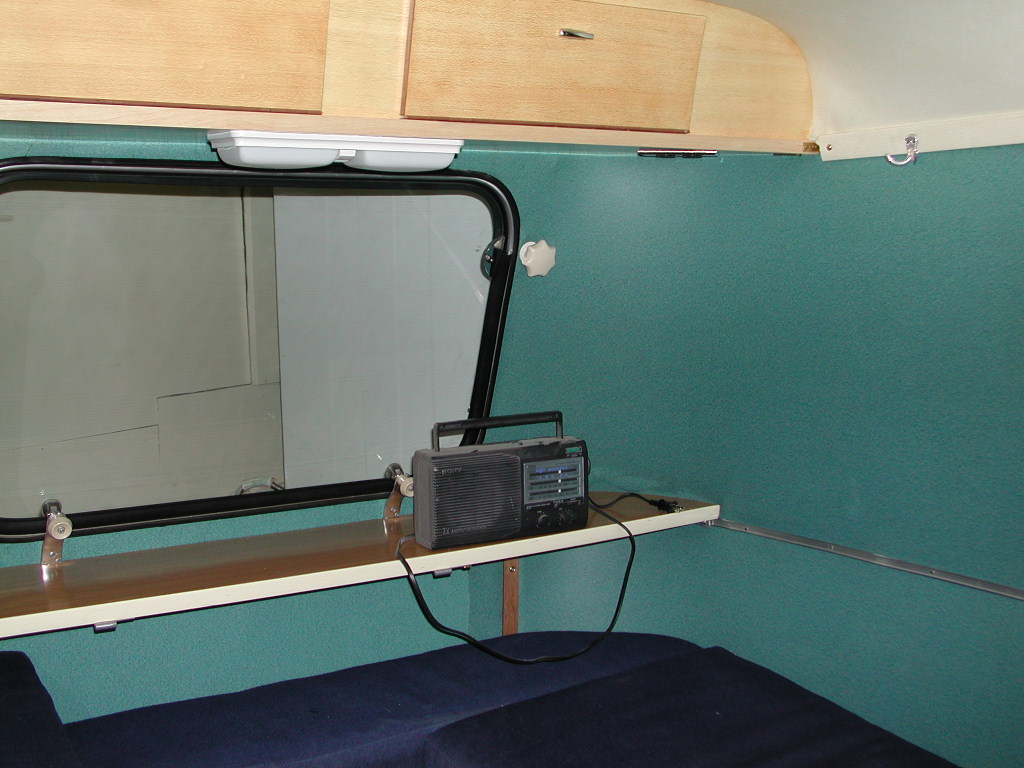
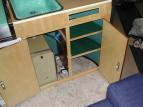
Cabinetry: Rear cabinets, shelf completed.
|
|
|
|
 |
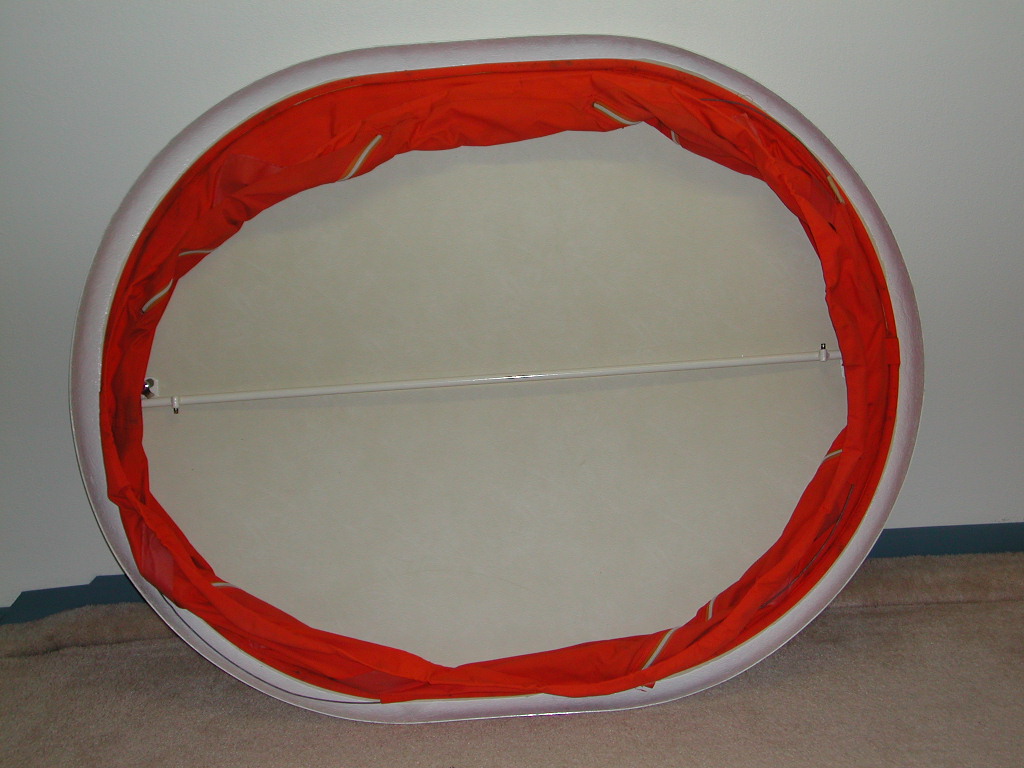
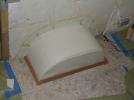
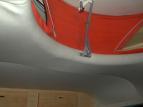
Popup Dome: Dome painted, new insulation and liner, cleaned original orange canvas.
|
|
|
|
 |
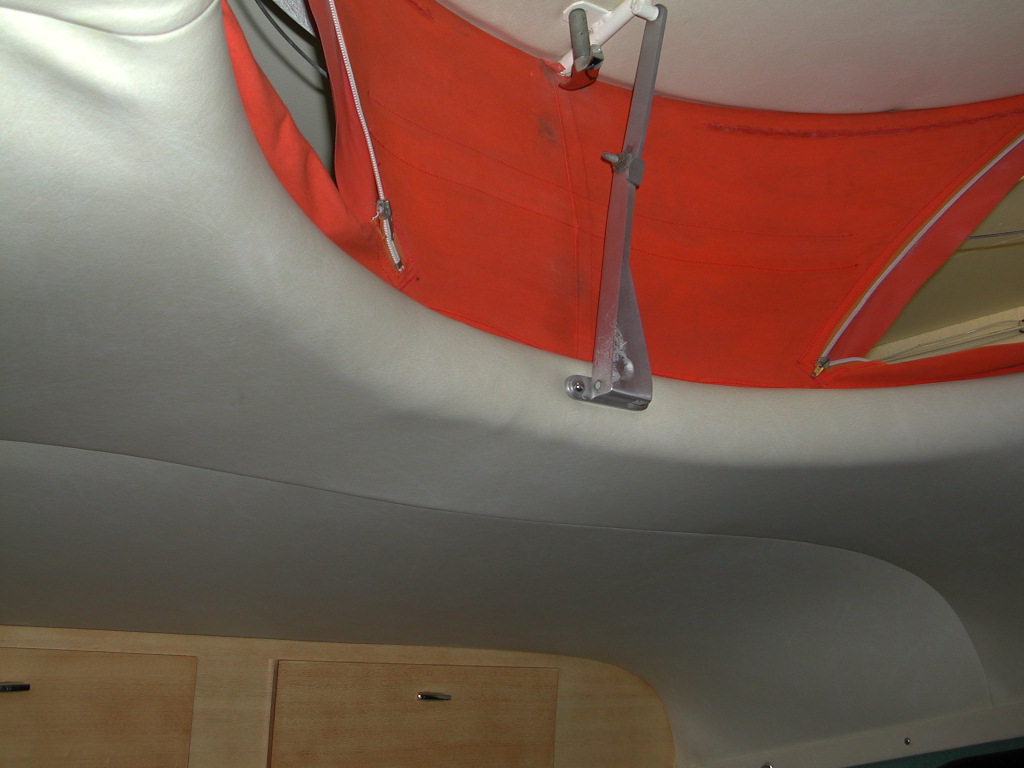
Popup Dome: Rear hinge detail.
|
|
|
|
 |
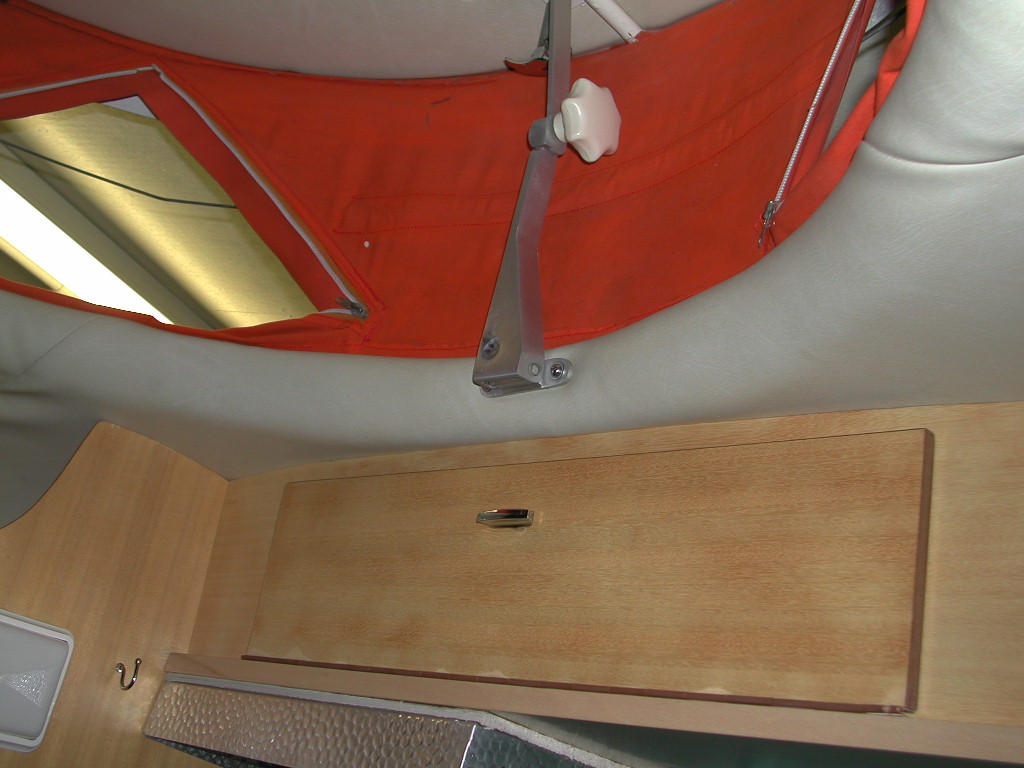
Popup Dome: Front hinge detail.
|
|
|
|
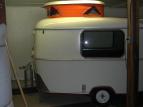 |
Popup Dome: Popup dome installed. An additional EL light strip was glued around the base of the popup dome.
|
|
|
|
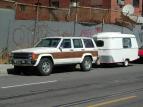 |
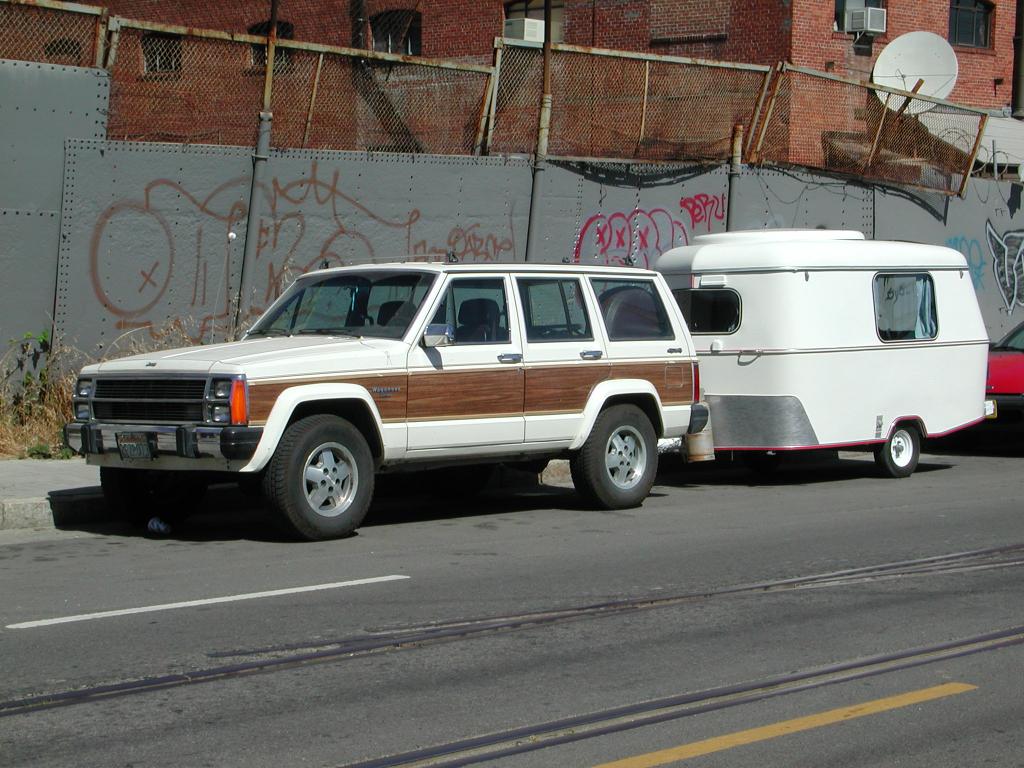
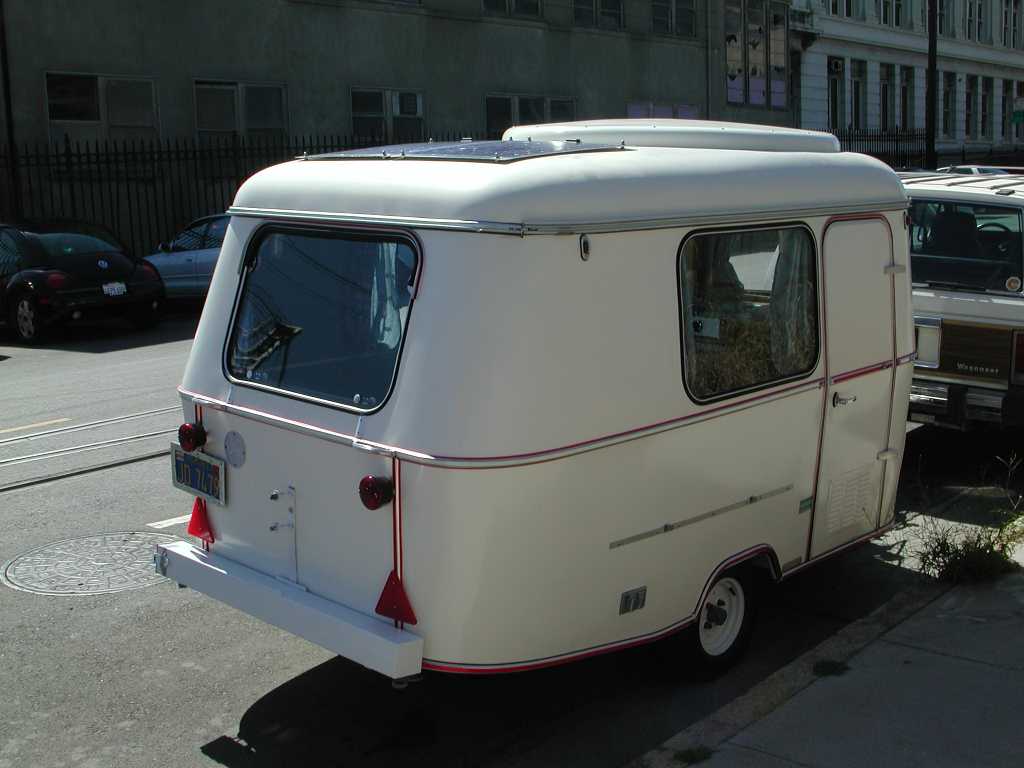
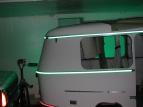
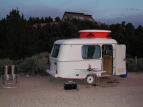
On The Road Again: Restored Puck and 1987 Jeep Wagoneer, parked near the drydocks near Central Basin.
|
|
|
|
 |
On The Road Again: Left side view.
|
|
|
|
 |
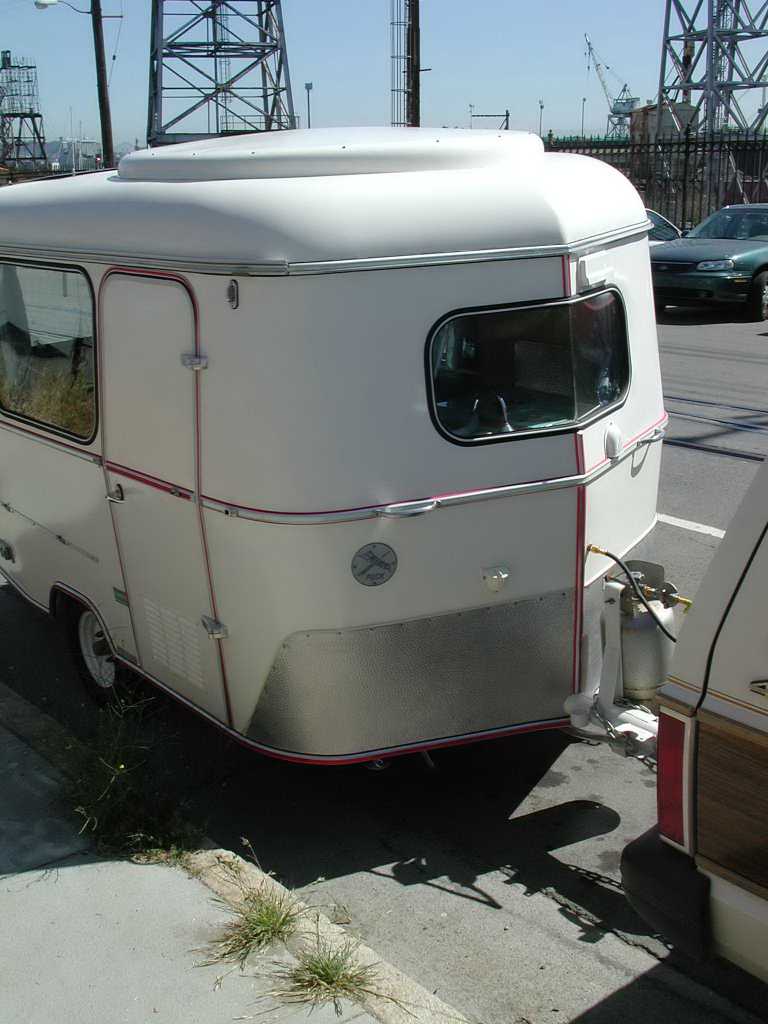
On The Road Again: Right rear view, note the two 30W PV panels on roof (couldn't photograph them in the garage).
|
|
|
|
 |
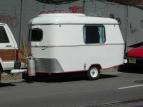
On The Road Again: Front right view. Ready to roll!
|
|
|
|
 |
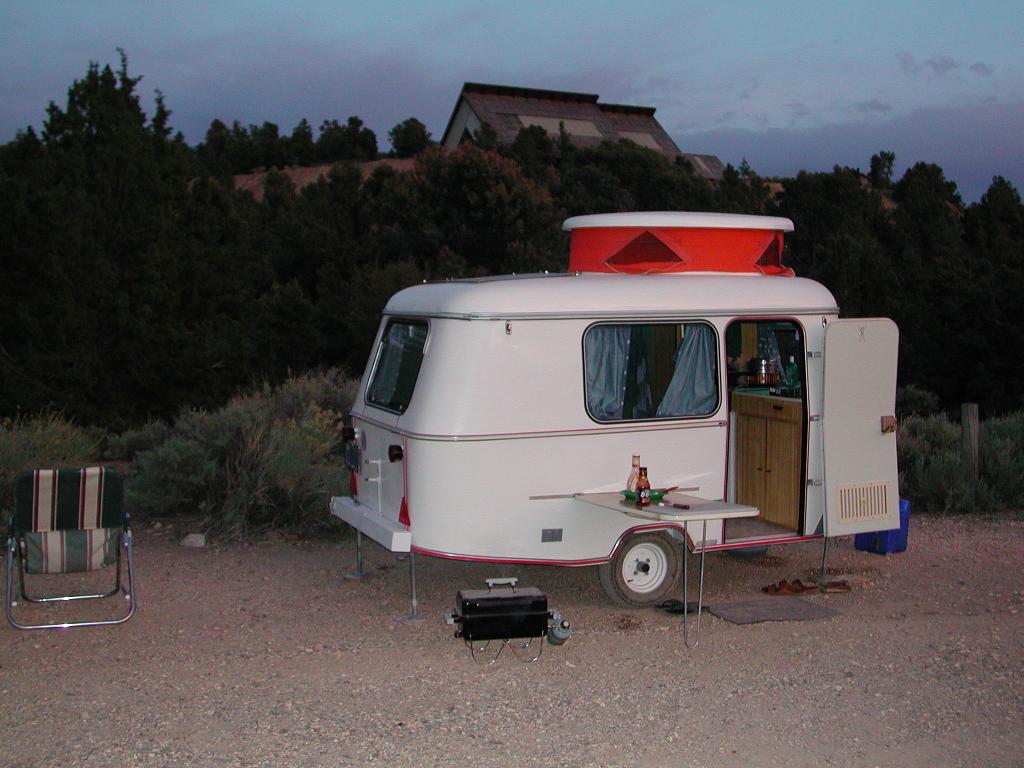
On The Road Again: Back in action, camping at the Berlin Ichthyosaur State Park, Berlin, NV.
|
|
|
|